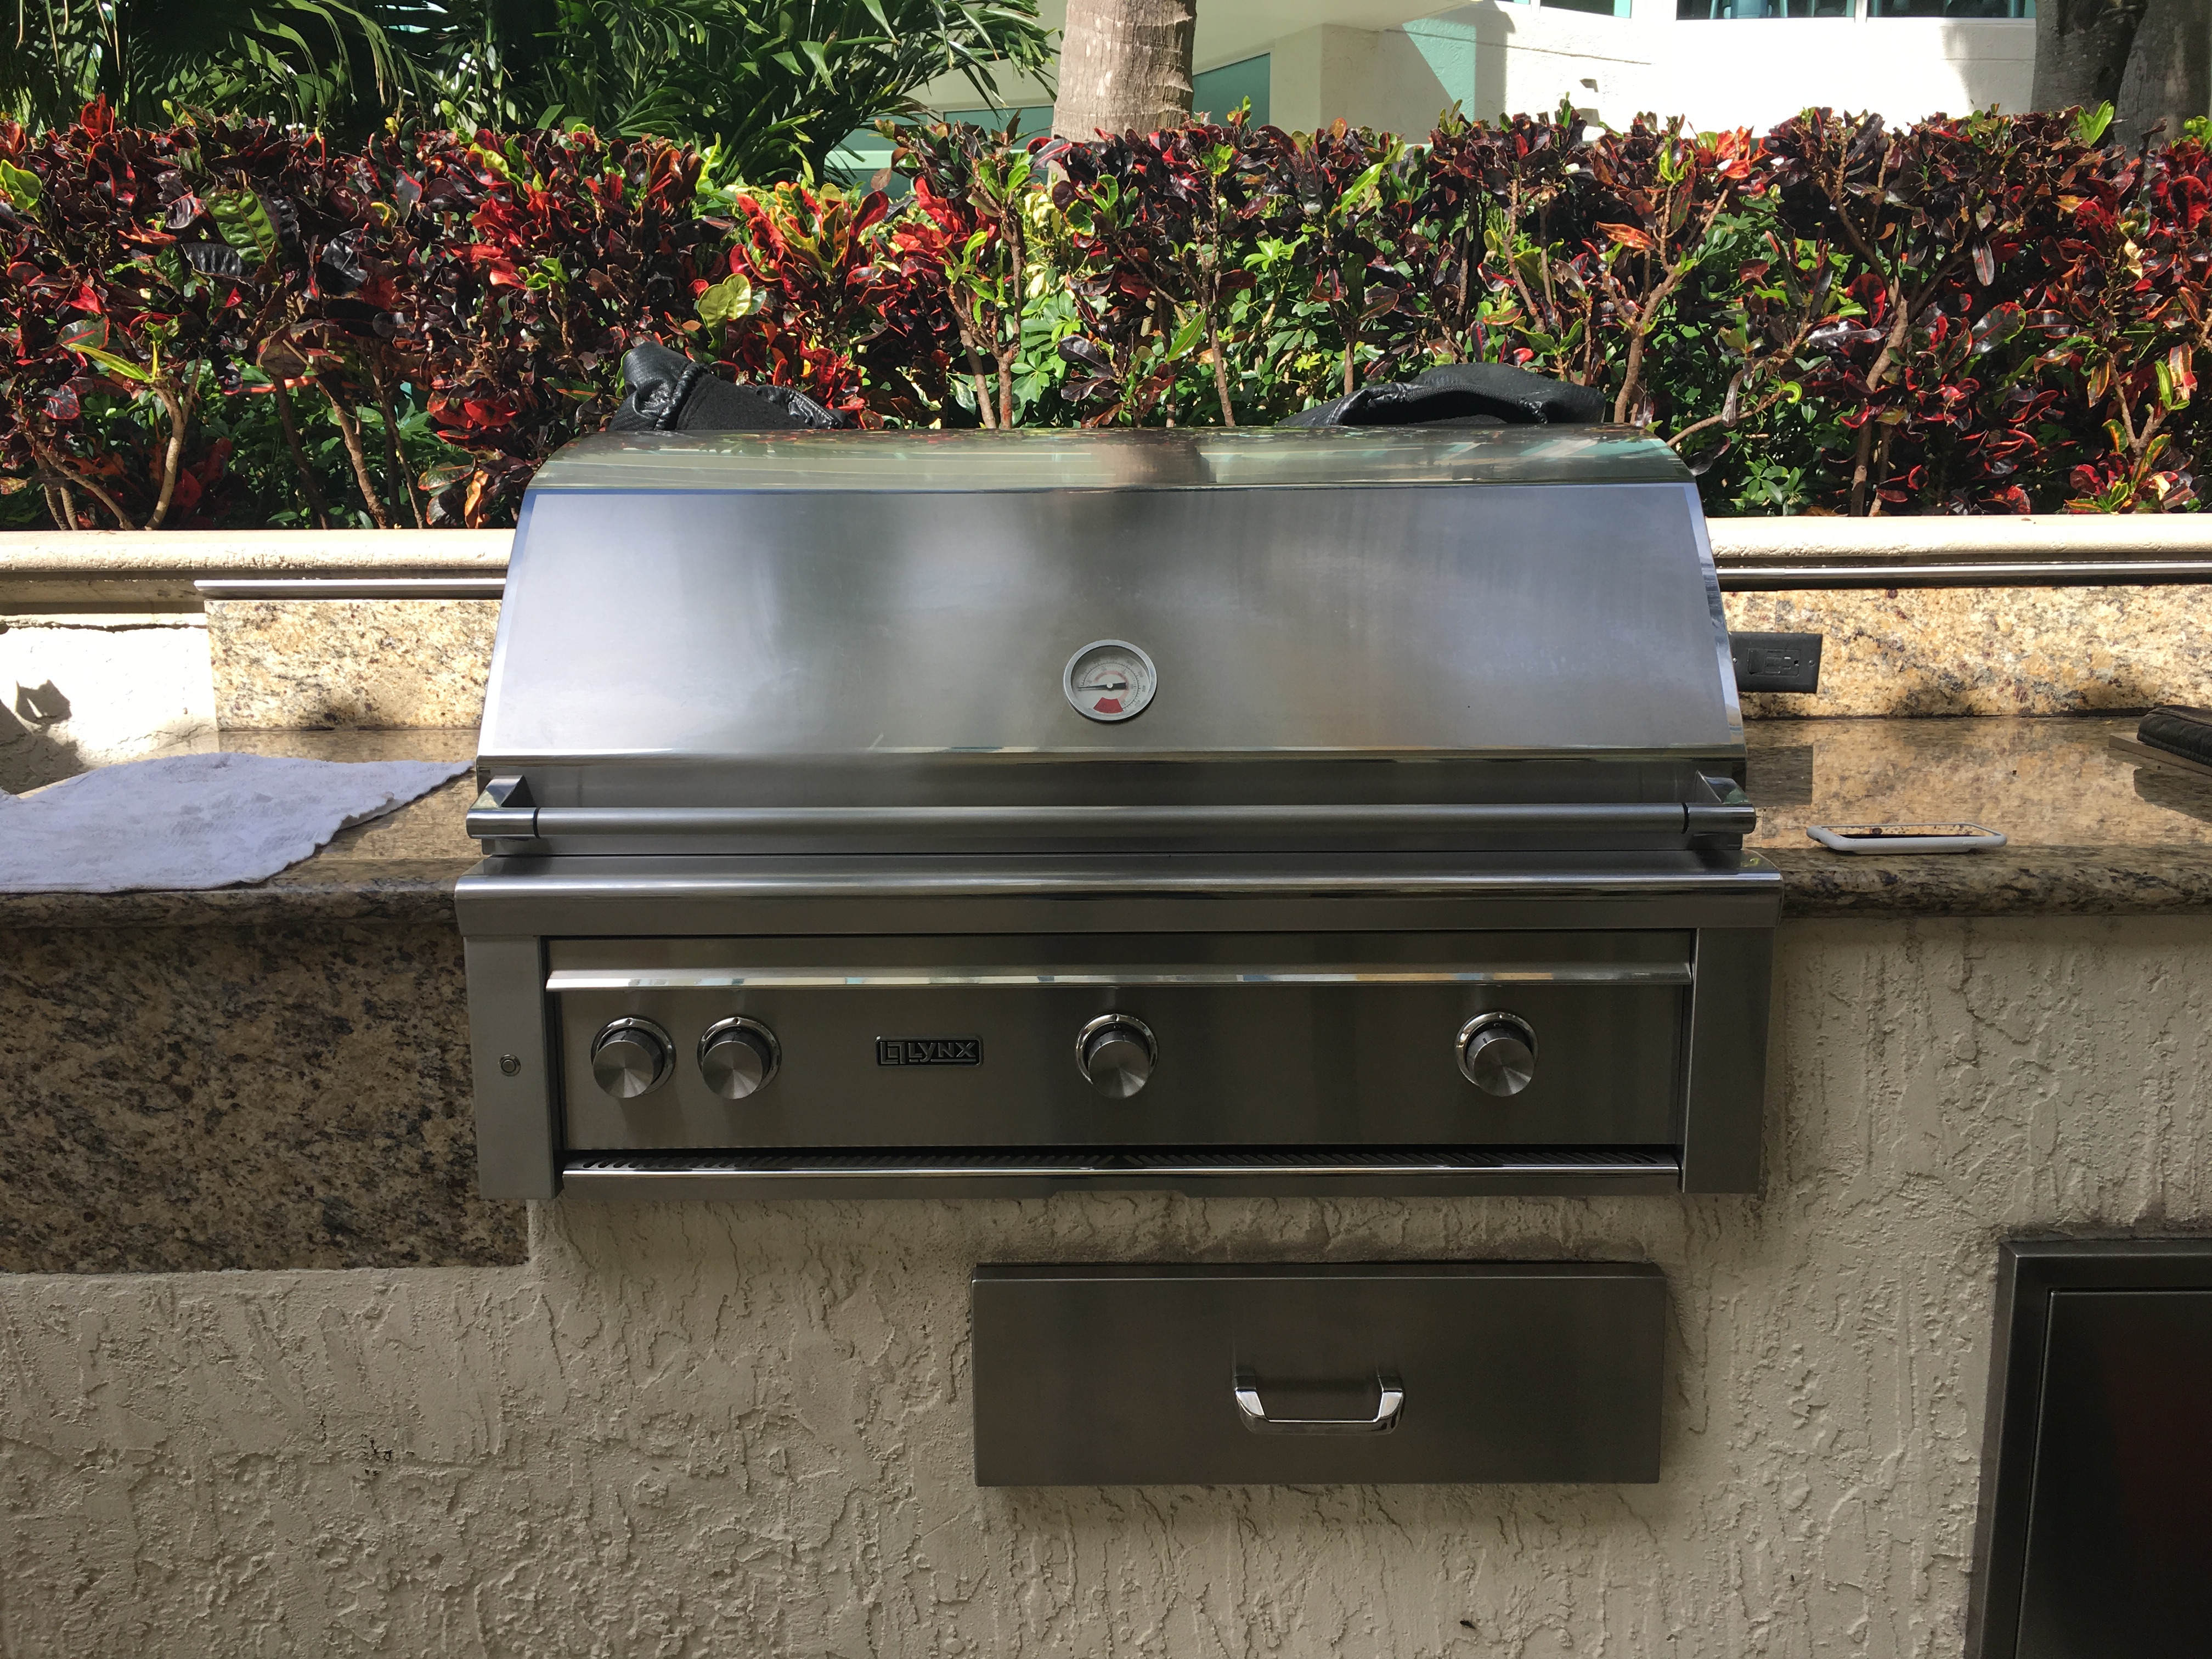
Lynx Grill Hot Surface Ignition Troubleshooting
The Ignition on my Lynx Grill is not glowing or igniting the burners.

The hot surface ignition was introduced in 2010 in the Lynx L series grills. J & K series will use them in the upgrade kit as the Glo-Coil was discontinued.
We will go over how to troubleshoot the ignition as well as how to change the hot surface ignition electrodes and micro-switches.
The process will be the same in the other models, the hot surface electrode configuration will differ.
First, we recommend troubleshooting where the actual issue lies. This will alleviate purchasing parts you do not need.
Remove the cooking grates and briquettes trays where there are brass or ceramic burners. This way you can see the hot surface igniter electrodes. You do not need to remove the cooking grates where you have either Prosear or trident burners as you can see the electrodes through the cooking grates. If you have difficulty seeing the electrode, then remove the cooking grate.
Next, test the electrodes by pressing in the knobs. Do you see them glow? If so, these are working properly and do not need replacing.
If they are not glowing, check to see if the interior lights come on in the grill? If the lights and the ignition do not work, most likely (if there is power to the outlet) the transformer needs replacing.
Otherwise, if the lights come on then it can be one of two issues, the hot surface electrode is bad or the microswitch.
Do any of them glow? If yes, then the microswitch is most likely the issue. Once you have the control panel removed you can test the electrode by unplugging it from where it was not glowing into a microswitch that is glowing. See if it glows.
If not, try plugging an electrode that was glowing into the microswitch that was not producing a glowing electrode. If it glows, replace the electrode. If not, replace the microswitch.
If none of them glow, it can be the power harness, transformer, electrodes, microswitches or a gas issue.
To access the electrodes and microswitches, you will remove the control knobs and set aside
Remove the control panel face by pulling the tabs on the left and right hand side of the grill. Pull the panel from the bottom and lift up and pull out.
Rest the panel on the drip tray or if easier pull out the drip tray and rest the control panel to the left side of the grill.
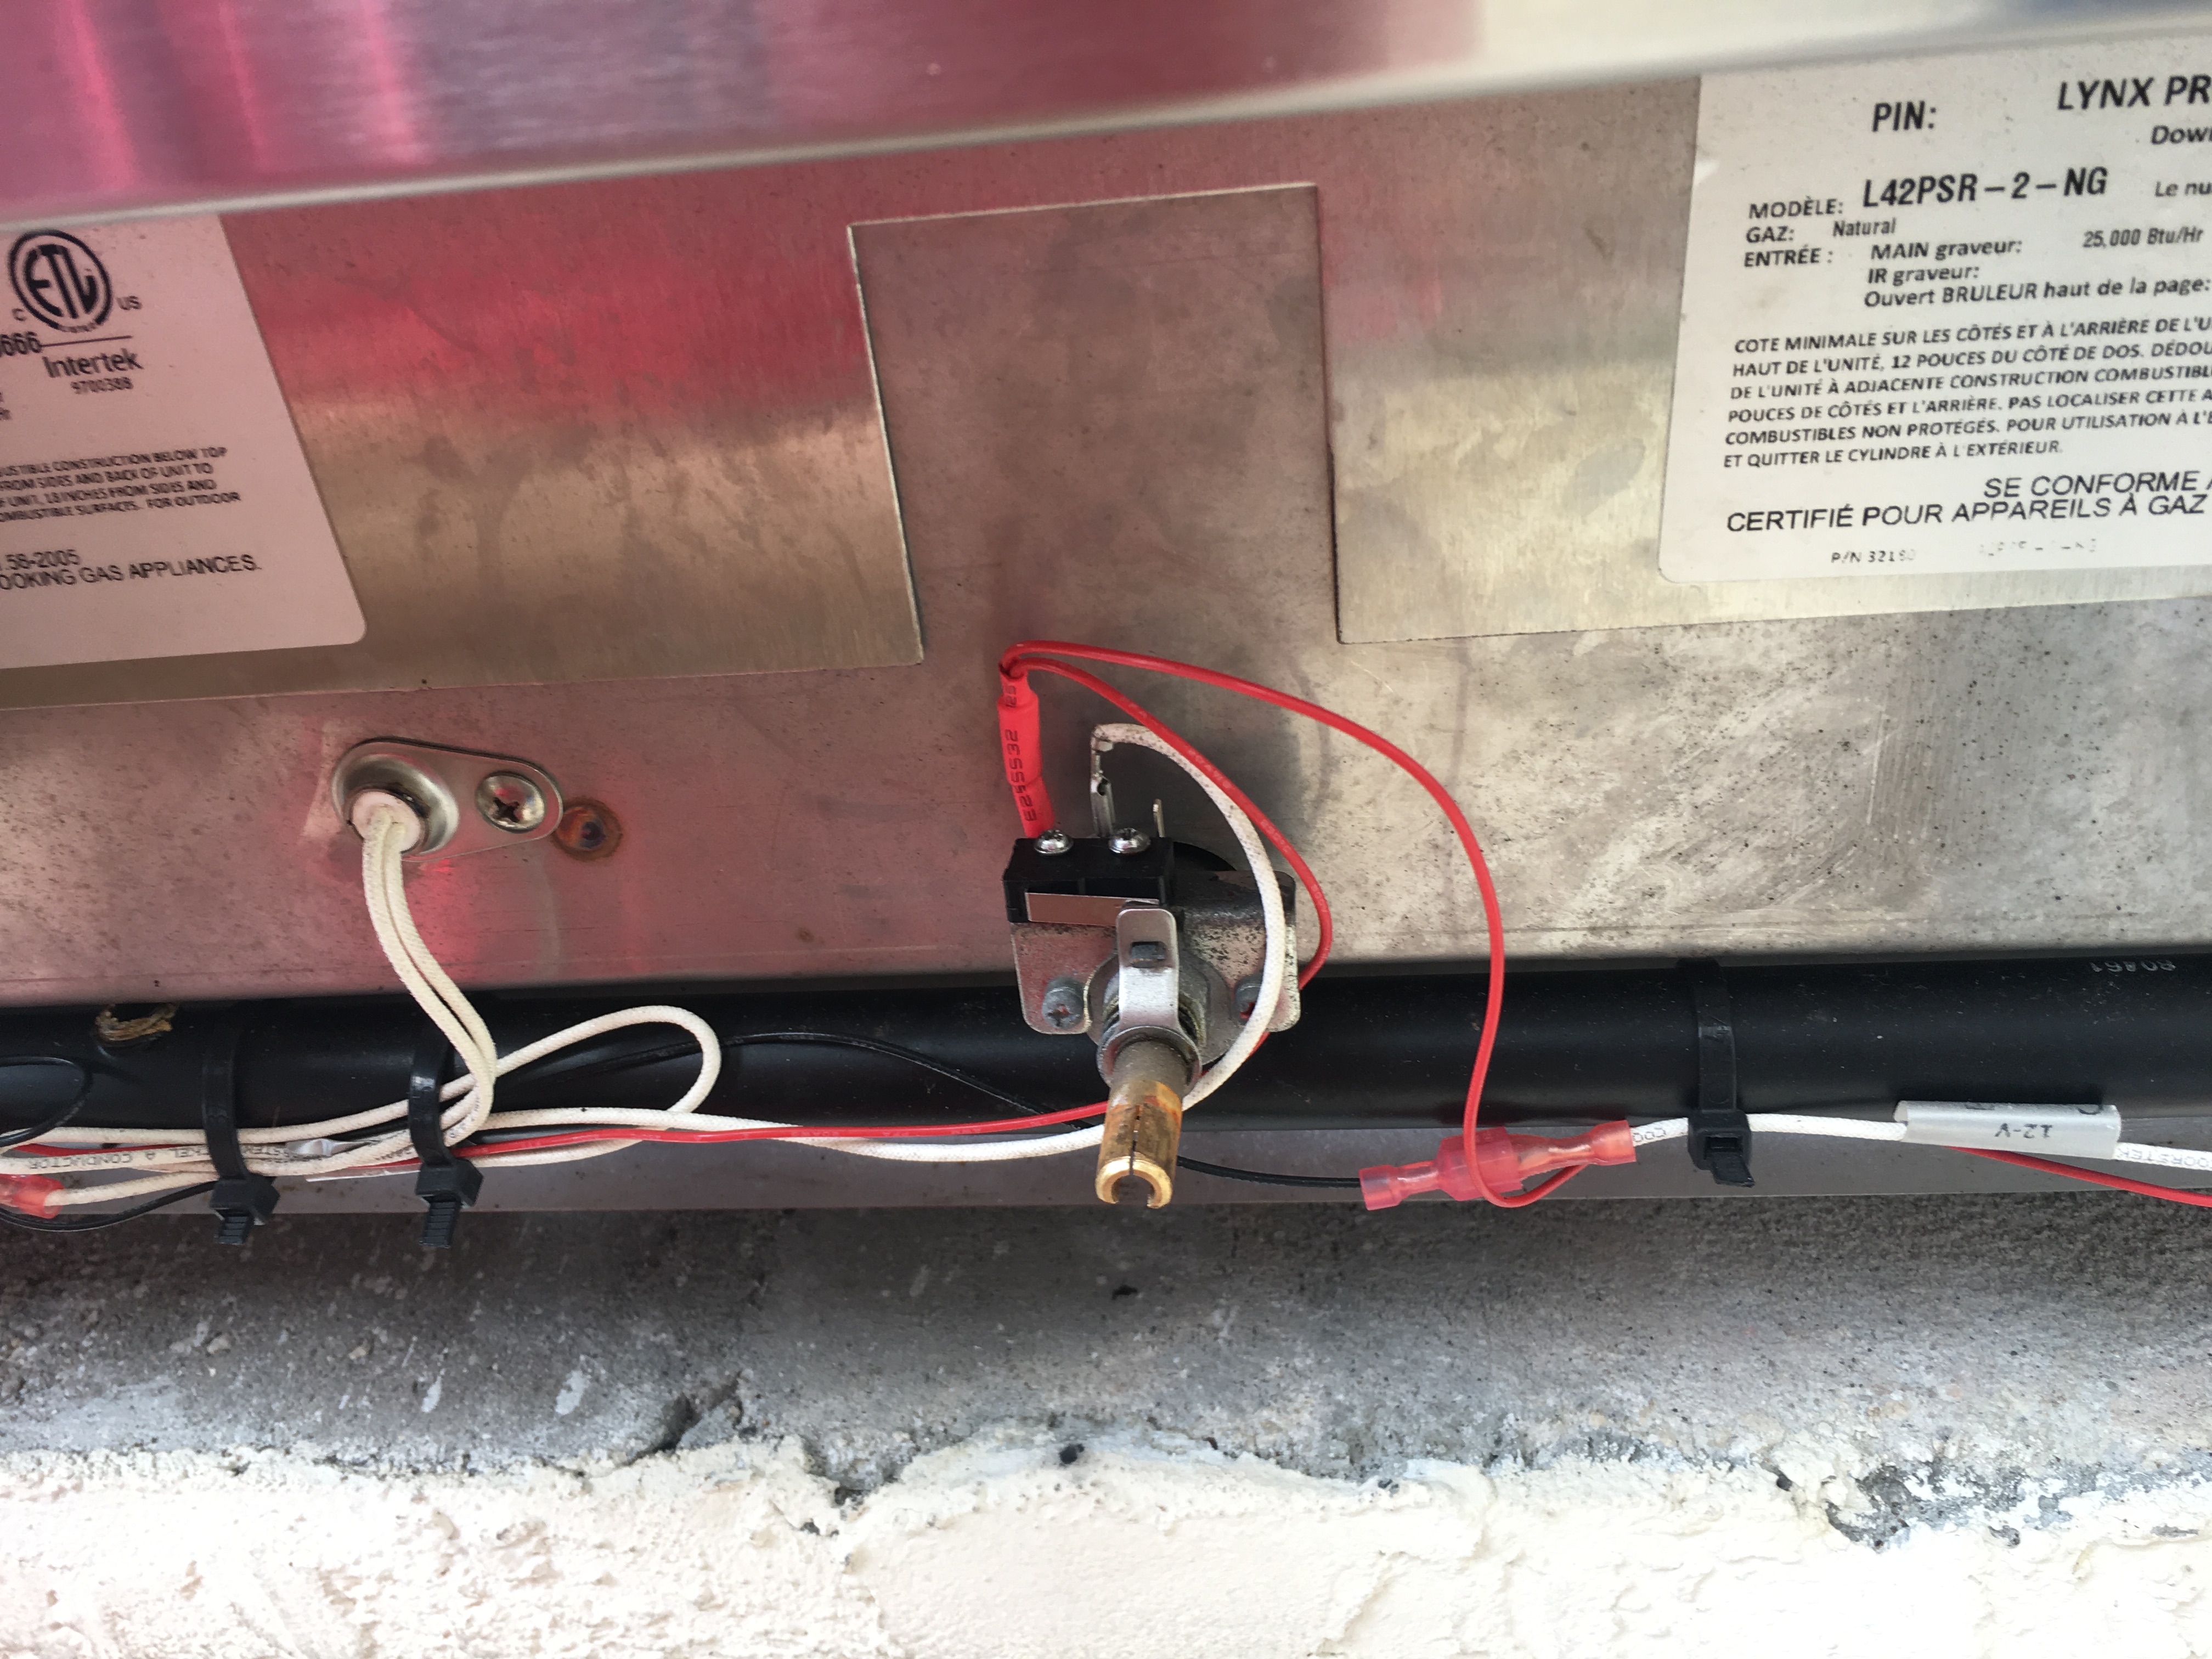
In the picture below, you will see the microswitch with the harness and electrode plugged into it. To the left, is the mounting position of the electrode in the center burner.

To change the microswitch:
The microswitch is located on top of the valve. Unplug the power harness and electrode from top of the microswitch. Remove the 2 screws that bot the switch to the valve. Take the new switch and re bolt to the valve (using the same screws). Plug in the power harness to the left most prong and electrode to the center prong (the new micro-switches have 3 prongs, yours may have 2). Do not worry about the third prong.
Test the electrodes by pressing the knob. Make sure they glow. Turn the knob to ignite.
To change the electrodes:
Unscrew the electrode from either the firebox or heat shield (behind the control panel, where the information stickers are affixed).
Where the electrode is mounted will vary on burner location, model and series of the grill. For example, in this 42" grill, Q series, the left burner is mounted to the firebox and the center and right burner is mounted to the heat shield. Remove the electrode wire from the microswitch. You may need to clip a zip tie to release the igniter wire.
Place the electrode in the grill into the collector box. Screw to the firebox or heat shield. Plug the wire into the microswitch. Test the ignition to be sure it glows. Zip tie the extra wire around the manifold.
If you need any of these ignition parts or any lynx grill troubleshooting, call TheBBQDepot.com at 877-983-0451 or email info@thebbqdepot.com


