
Grilling Ribs for Beginners: A Step-By-Step Guide
Is there anything better than the smell of perfectly grilled BBQ? With the help of an at-home grill and the right techniques, you can make the perfect fall-off-the-bone ribs right in your own backyard.
As much as a rack of ribs on the grill is a summertime staple, they can be intimidating for first-timers. But with that being said, it doesn’t take a master class in grilling to cook the perfect ribs. All it takes is the right tools, techniques, and plenty of patience. Once it’s done, the rewards will be well worth the effort.
In this guide to grilling ribs for beginners, we break down the basics of grilling the perfect set of ribs on your backyard grill, from start to finish.
What Should You Consider When Grilling Ribs for the First Time?
A lot goes into the grilling process, long before you ever put the ribs on the grill. It all starts with proper preparation of your meat. While no one rib recipe works for everyone, these preparation techniques can guide you in the right direction.
Here are the things you should consider before firing up the grill for the first time.
How To Select the Proper Cut of Pork Ribs
There are three different cuts of pork ribs you can use. All of them will work well for the barbecue, but each has its pros and cons. Baby back ribs are the easiest to find, and also tend to be the easiest to cook evenly. They’re known for having plenty of meat and fat, while still cooking relatively quickly.
Spare ribs are larger, but they have more connective tissue, which requires a longer cooking time to break down. St. Louis-style ribs are spare ribs, but with the rib tips removed — creating a more uniform, rectangular shape. These tend to be more challenging to cook for beginners.
How To Clean the Ribs
To prep ribs for cooking, you first need to clean them by removing the membrane.
On the back side of the ribs, you’ll find a very thin piece of skin that runs along the length of the ribs. To remove it, gently work a knife under one side to separate the membrane from the meat. Once you have enough skin pulled up, you can then peel the rest off by hand.
How To Prepare the Rub and Marinade
To prepare your ribs for BBQ, you have two choices: rub or marinade. A dry rub is a mix of dry spices that create a crust around the meat, locking in the juices and adding flavor. A marinade also enhances flavor, but it does so by using an acidic base to tenderize the meat as it soaks.
Both dry rubs and marinades can be customized to fit your preferred flavor profile, but here are the most common ingredients you’ll find. If you do not want to spend the time making your own rub, you have to check out John Henry's Rubs. Our favorite is the Sugar Maple Rub.

For dry rubs:
- Brown sugar
- Salt
- Paprika
- Pepper
- Garlic powder
- Celery seeds
- Oil or mustard to help the seasoning stick
For marinades:
- Olive oil
- Dijon mustard
- Worcestershire sauce
- Soy sauce
- Apple cider vinegar
- Minced garlic cloves
- Wine vinegar
- Maple syrup
- Brown sugar
- Ketchup
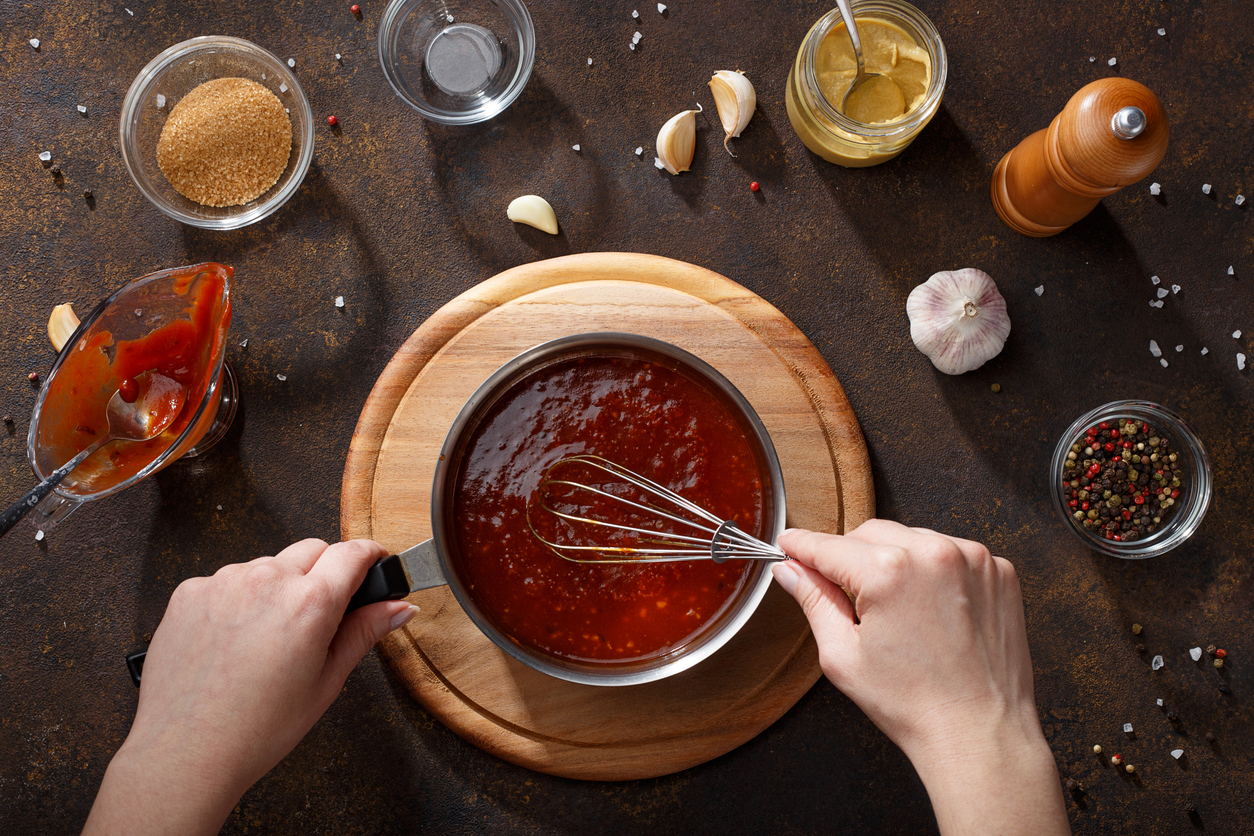
How To Prepare BBQ Sauce

Rib preparation and cooking style matter, but the secret to amazing ribs is having a great barbecue sauce. While you can always opt for a store-bought BBQ sauce, nothing beats a homemade ribs BBQ recipe.
To make a basic BBQ sauce, start with a tomato base. While you can use other tomato products, ketchup makes a great foundation. To add sweetness, mix in brown sugar. Add a dash of acidity to balance out the sweetness with something like red wine vinegar. Then you can add your preferred blend of sauces and spices, like Worcestershire sauce, hot sauce, dry mustard, paprika, salt, and pepper.
6 Simple Steps To Grill the Perfect Ribs
Learning the art of cooking ribs may take time, patience, and hard work. But once you’ve got the basics down, the process couldn’t be easier.
Here are six simple steps to grill the ribs of your dreams.
1. Marinate the Ribs
To marinate your ribs, place them in a shallow baking dish and pour your pre-made marinade over the top. Make sure the liquid soaks into every crevice of the meat. Use your hands to rub the marinade into the meat for better absorption.
Then, cover the dish with plastic wrap or aluminum foil and place your ribs in the fridge. For a quick marinade, you can leave them for just 30 to 60 minutes. However, the longer you can leave them, the more the flavor can penetrate. Aim for four to six hours of marinating, or even overnight if you can.
2. Apply the Spice Rub
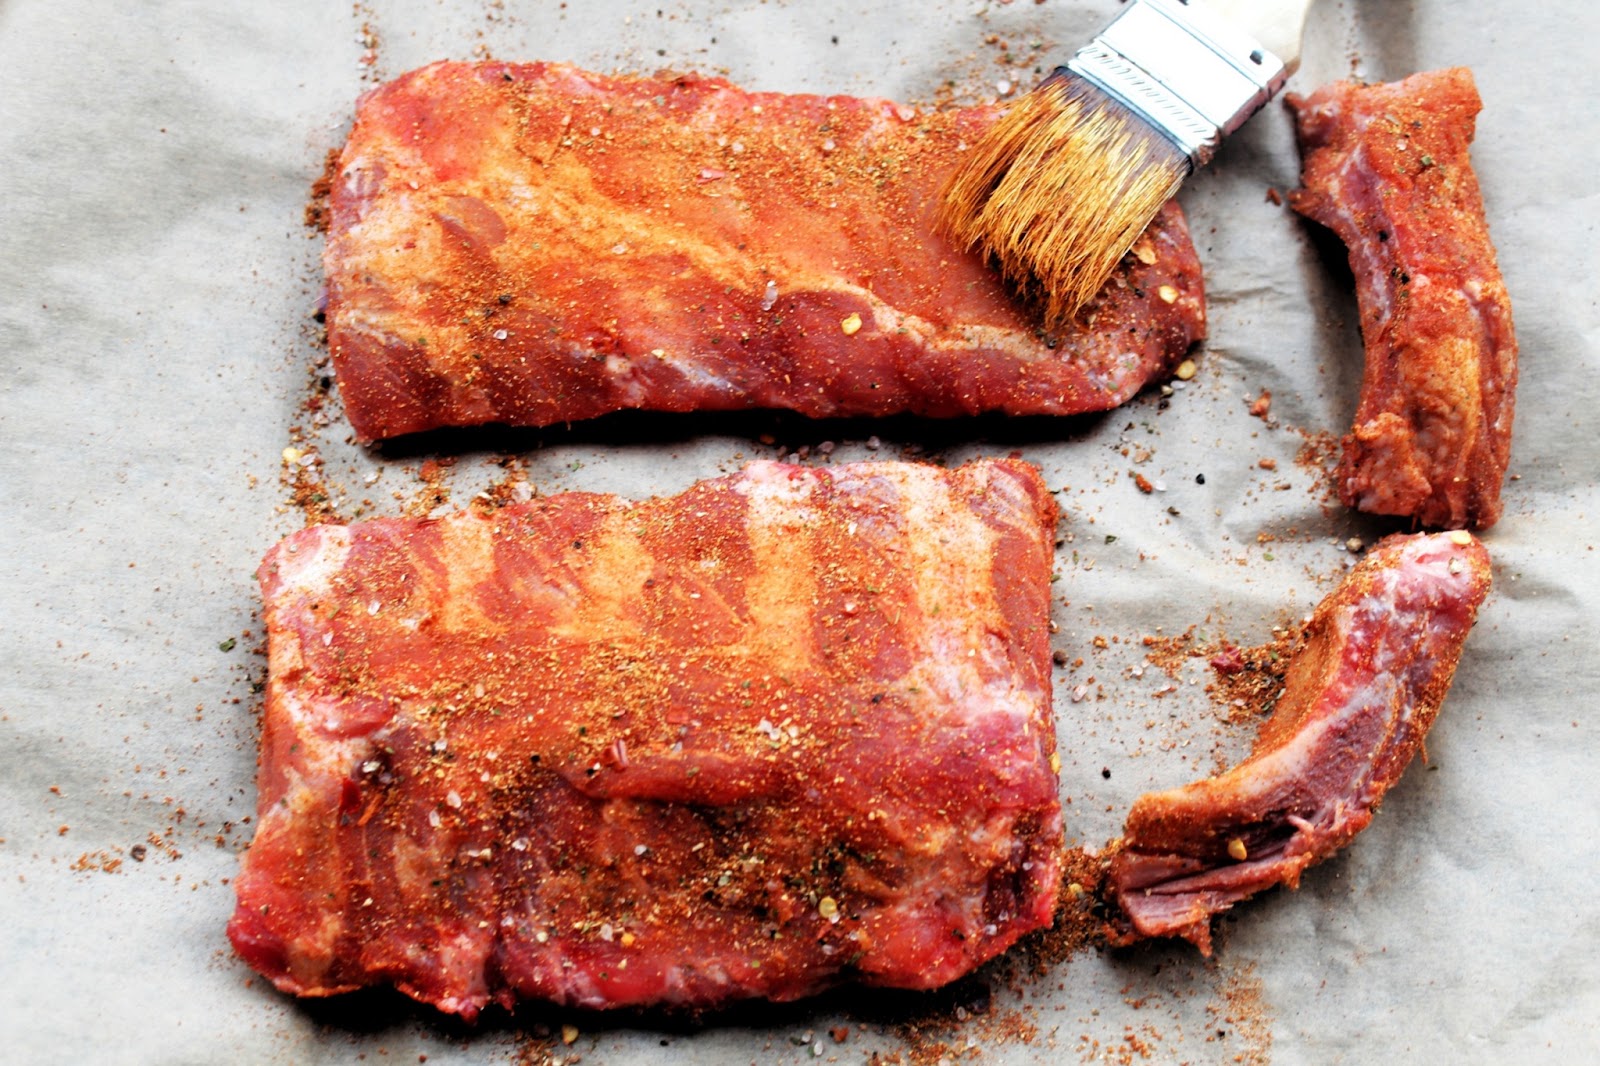
To apply the spice rub, start by rubbing or brushing a light layer of oil or mustard onto your meat. This gives the dry rub something to stick to. If you’ve used a marinade, you can skip this step.
For efficiency, use one hand to apply the seasoning and the other to rub it into the meat. This “wet hand/dry hand” method keeps the seasoning from clumping up as you apply it.
For bigger, juicier cuts of ribs, it can be harder for the flavor from your dry rub to penetrate deep into the center of the meat. To push the dry rub seasoning deeper into the ribs, don't be afraid to press down hard and massage the meat with your fingers or even your knuckles.
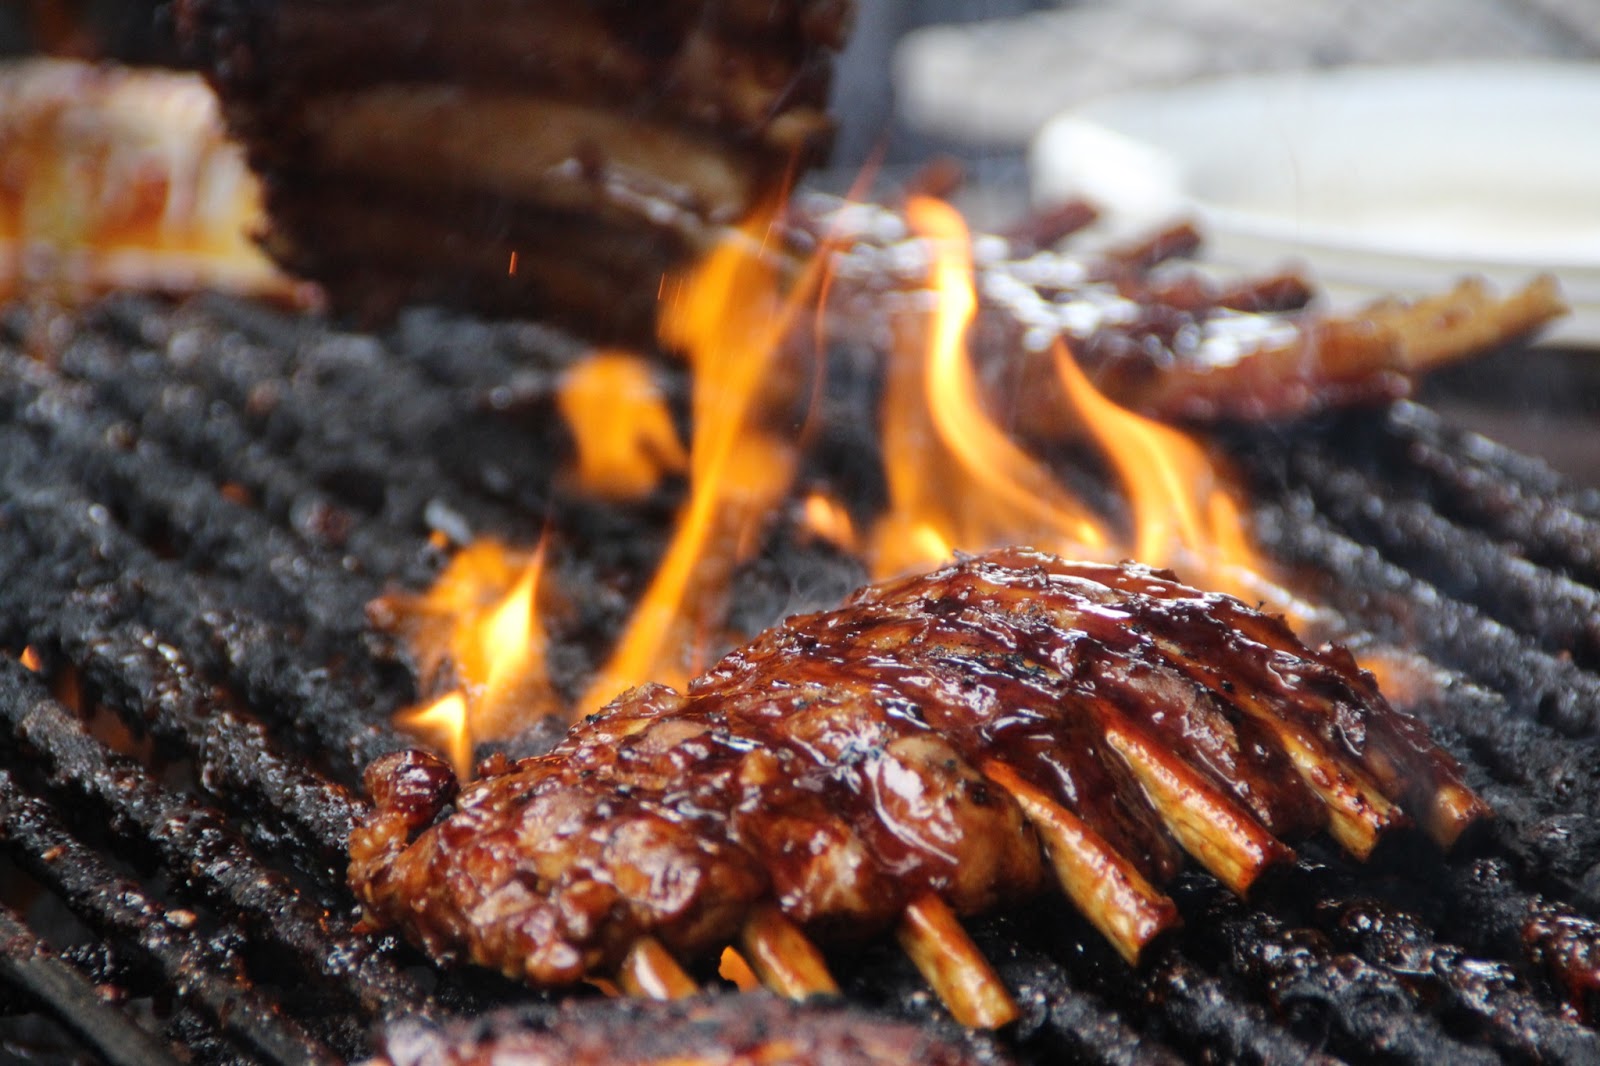
3. Preheat Your Grill
The best ribs are cooked low and slow and in our opinion are best when cooked in a Kamado or Wood Pellet style grill. To slow-cook ribs on the grill, you’ll want to set your grill to preheat at about 250 to 275 degrees. This will take about four to five hours of cooking.
However, you can always up the temperature for faster cooking times. Grilling at medium heat like 300 degrees takes less time — about one to two hours on average — while higher temperatures like 400 degrees can have your ribs cooked in just 30 minutes.
Keep the grill preheated for about 10 to 15 minutes before you start. This lets the cooking surface reach your desired grill temperature for even cooking. It can also burn off any residue from previous use and sanitize the grill grates.
4. Wrap the Ribs in Foil for Moisture and Tenderness
While the grill is warming up, take your ribs and wrap them in a large sheet of aluminum foil. Tuck everything in so your ribs are completely enclosed. This will help trap moisture while the ribs cook, keeping the meat tender and juicy.
Then, place your wrapped ribs on the grill. You can place ribs bone up or down, but when you’re wrapping the meat in foil, it’s recommended to place the ribs with the meat side down.
Close the grill and start the cooking process. Depending on your chosen temperature, the rib grill time will vary. Halfway through, be sure to check on your ribs and flip them over. For larger racks of ribs or slower cooking times, it could take up to six hours to fully cook.
To know for sure when your ribs are done, insert a meat thermometer into the thickest part of your ribs. It’s recommended to let them cook until the internal temperature reaches at least 145 degrees.
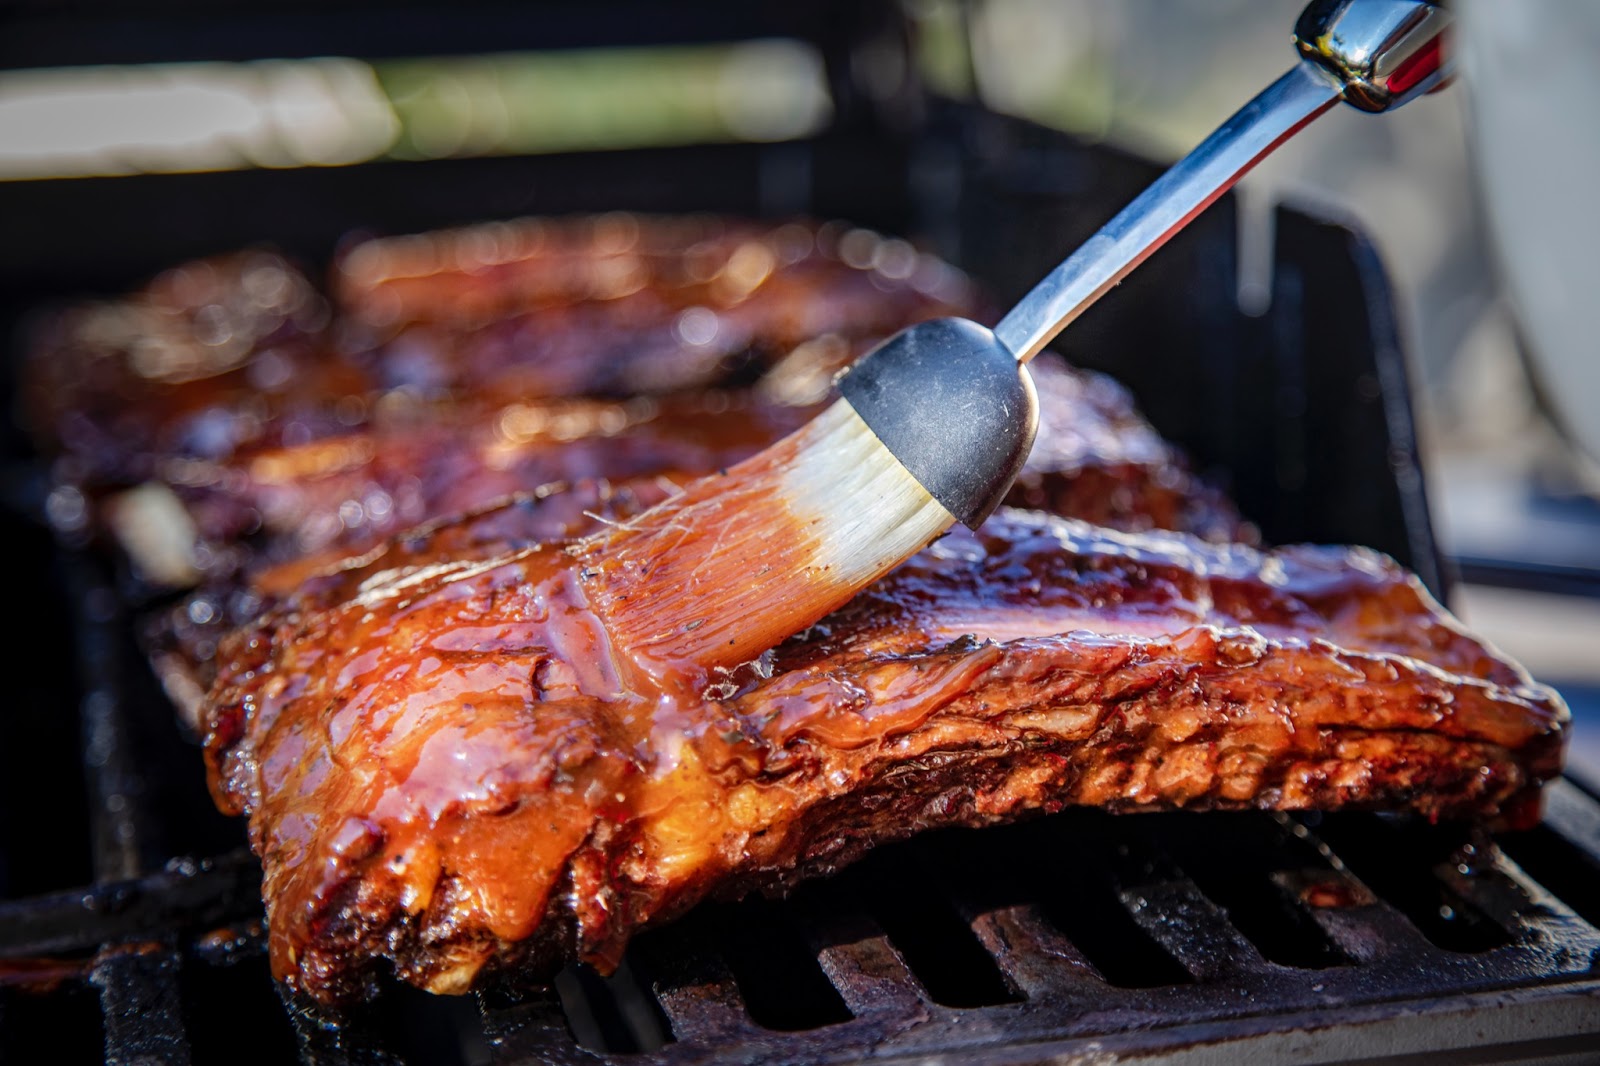
5. Unwrap and Transfer to the Heat Zone
To achieve the best results with your grill, use two types of heat. The gentle, indirect heat zone that you just cooked with helps to break down the collagen and connective tissue, giving you perfectly tender meat. Then, you can transfer your ribs to a direct heat zone, finishing them off with the perfect sear.
First, take off the aluminum foil coating. Then, transfer it to your direct heat zone and let it cook for just a few minutes longer. As it cooks, baste the ribs with your BBQ sauce to give the meat an extra crispy feel and perfectly caramelized crust.
6. Allow Your Ribs To Rest Before Serving
Once your ribs are done, remove them from the heat zone and place them on a plate. It’s important to let the meat rest for at least 10 minutes, although some larger racks of ribs may take up to 20 minutes.
By letting the ribs rest, you give the meat time to redistribute its juices as the muscle fibers relax. To help retain heat while it rests, you can place your ribs on a warm plate or even tent the ribs with foil. Just make sure not to wrap the meat in foil too tightly — the steam could soften the perfect crust you just seared.
Find the Perfect Grill for Flawless and Tasteful BBQs

Once this process is finished, you can slather the ribs in more of your favorite BBQ sauce, serve, and enjoy. If it's done right, these messy yet delicious meats can turn an ordinary summer afternoon into a delicious barbecue.
Anyone can grill a rack of ribs on any old backyard grill. But it takes next-level performance to craft the kind of tender, juicy, and perfectly smoky ribs that most grill masters can only dream of. Explore our wide selection of quality grill brands to find the perfect grill for your outdoor cooking needs, or contact us today to consult with one of our BBQ experts.
