
Grill Not Getting Hot Enough? Ways You Can Troubleshoot the Problem
As the weather warms up, it’s time to roll up your sleeves and prepare the grill for a summer of barbecues and cookouts.
But what happens when you start your gas grill and it’s just not getting hot enough for cooking? As much as gas grills have become a staple of the outdoor grilling scene for their temperature control and ease of use, they’re still vulnerable to some issues.
From gas valve connectivity to clogged burners, there could be so many reasons why your grill may not be getting hot enough. Let’s explore the most common reasons for a gas grill not getting hot enough as well as how you can troubleshoot and fix it.
Why Is My Grill Not Reaching the Desired Temperature?
Many grillers — newcomers and seasoned grill masters alike — turn to gas grills for their ease of use. With a gas grill, there’s no struggle to light a flame or control high or low temperatures. Adjusting the temperature should be as easy as turning a control knob, giving you heat on demand.
So what do you do when that reliability falls short and your grill won't get hot enough? If your gas grill isn’t reaching the right temperatures or isn’t warming up at all, it’s time to troubleshoot the issue.
Here are a few of the most common causes of a gas grill not heating up.
Failing Grill Parts
In some cases, the cause of the malfunction might not be as simple as clogged burner ports and it may require repairing or replacing corroded or broken grill parts.
Here are some of the parts of your gas grill that may be damaged or malfunctioning
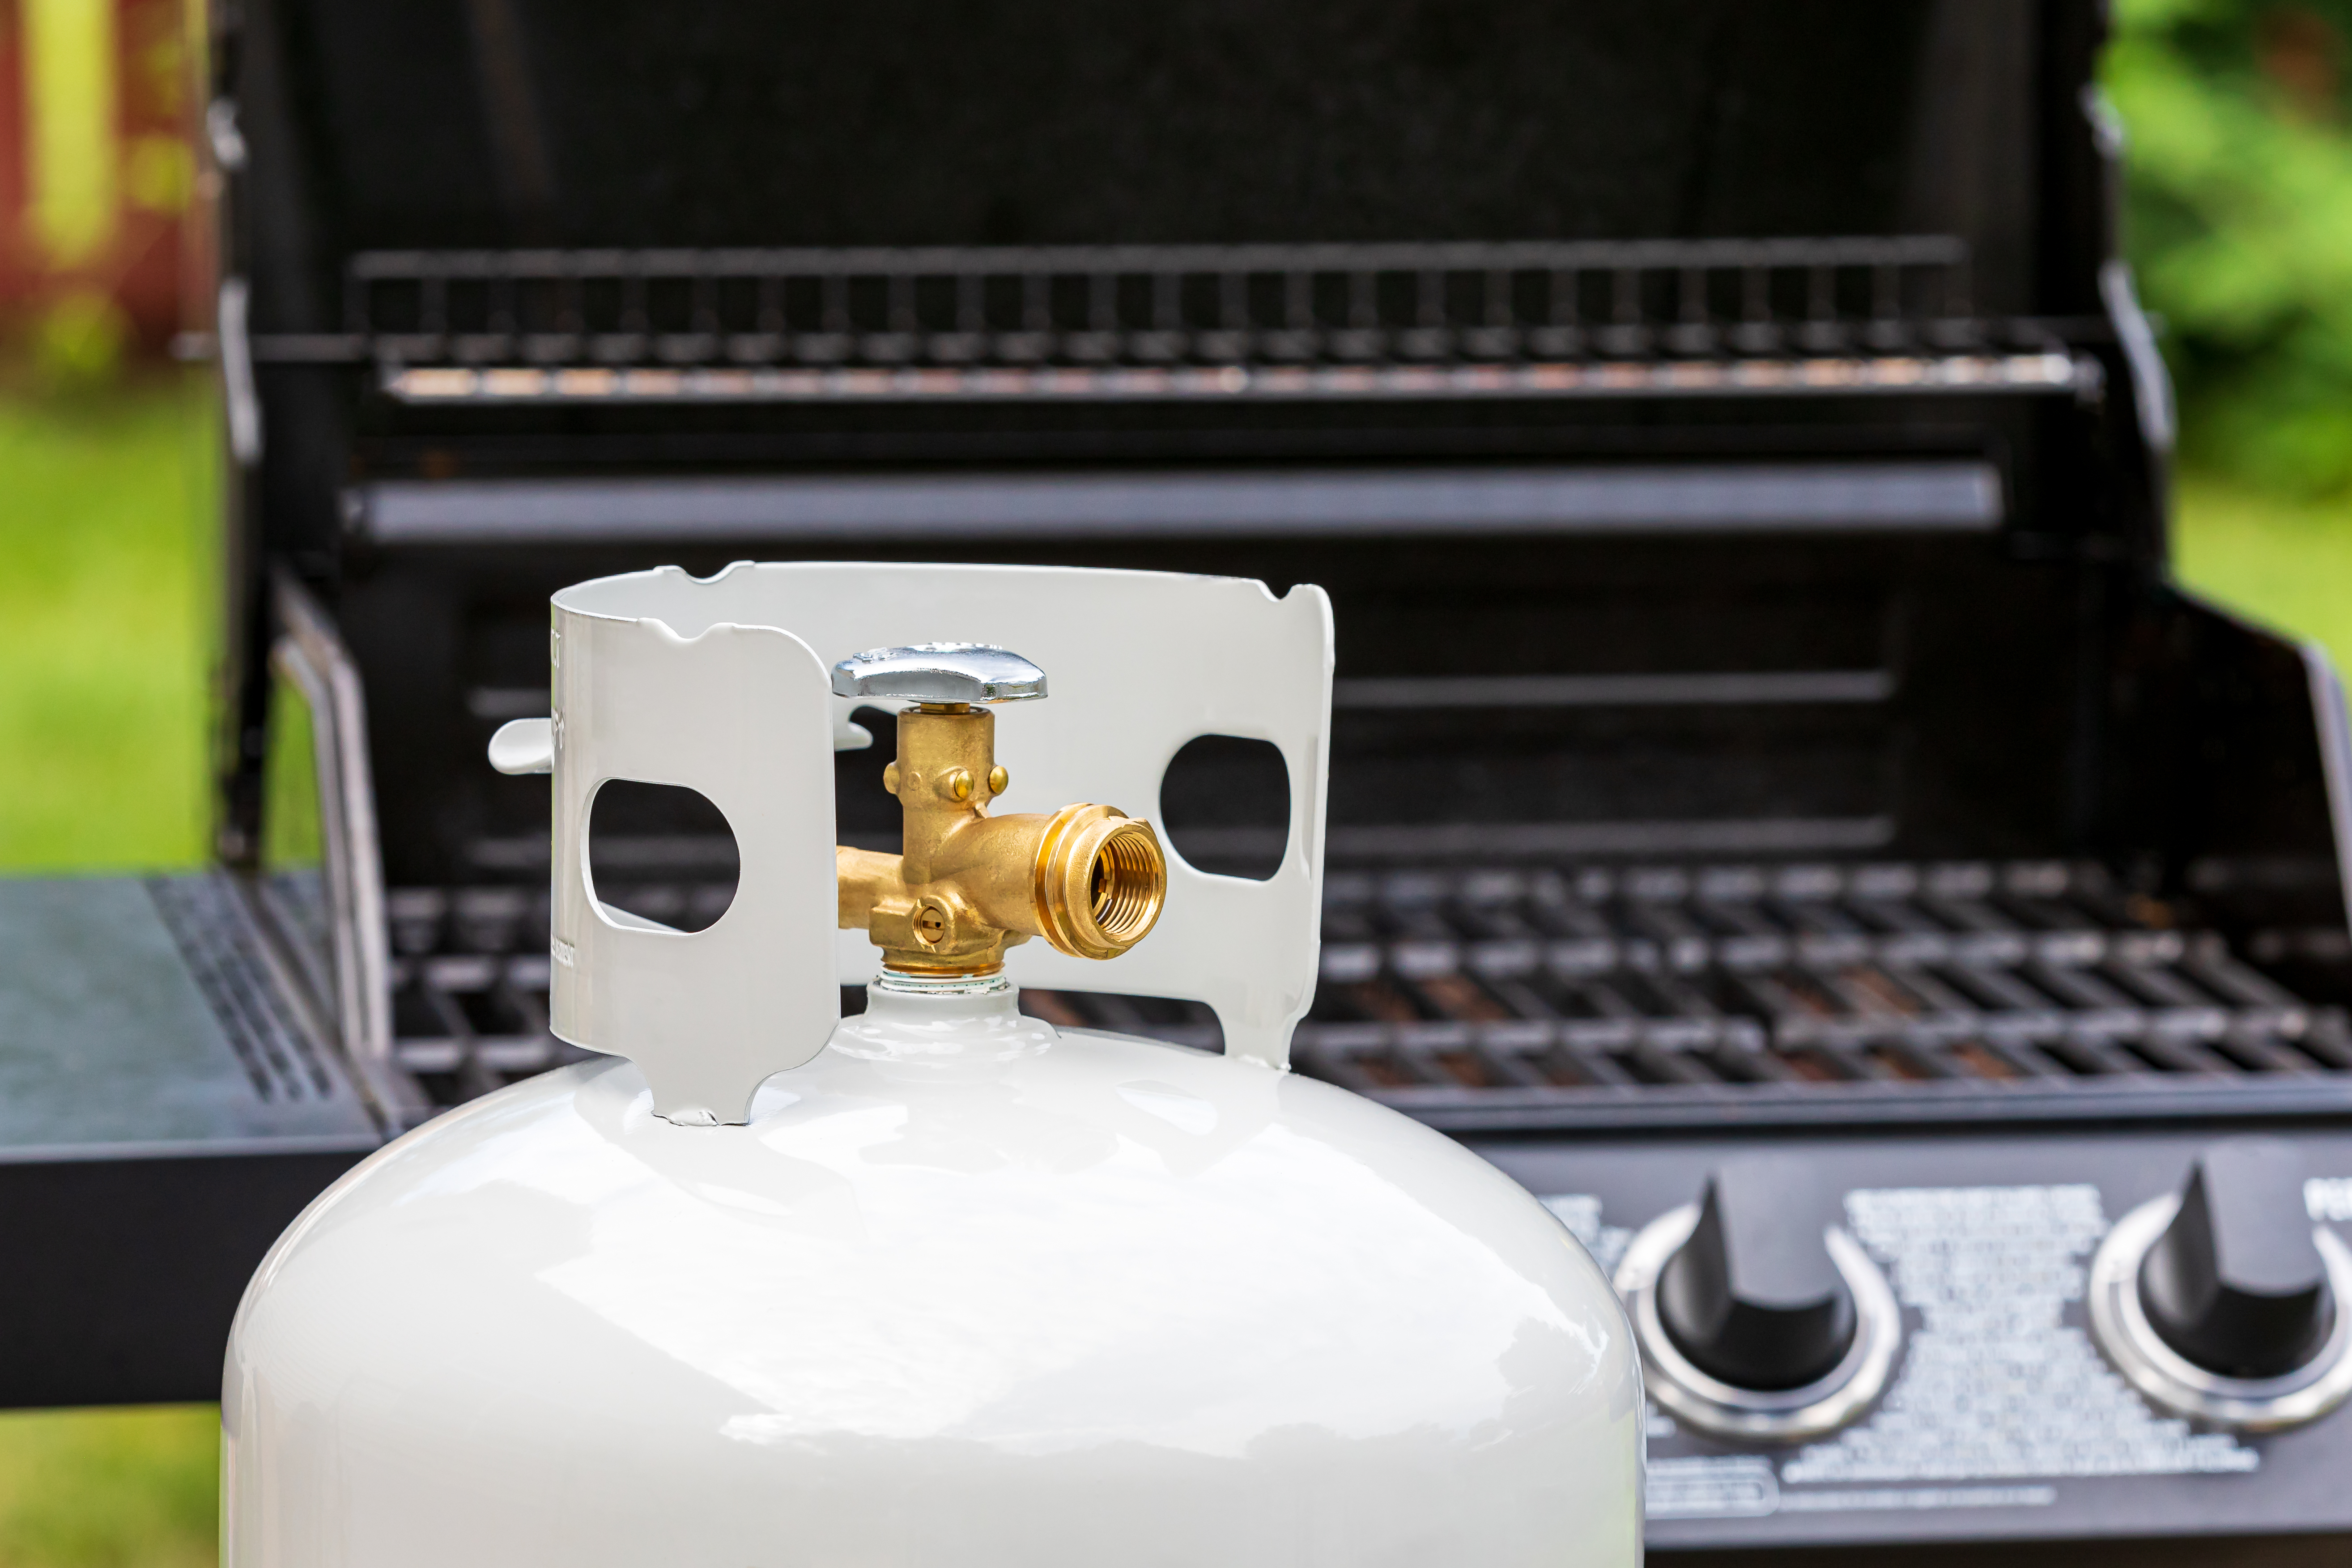
- Propane Tank Safety Valve
- Hose and regulator
- Control valves/Orifices
- Burner Gas Ports
- Heat Shields
- Wind
Lack of Fuel Pressure
Gas flow on a grill is fueled by gas lines, which connect to the propane tank and use a regulator to push gas to the grill. Over time, cooking caused these parts to build up gas in the line or even the regulator failing with time.
If the hose that feeds your gas grill has a leak or has not pressurized properly, this could be causing the safety valve in the tank to shut down, ultimately causing low flame on your grill. The pressure regulator could also be malfunctioning, leading to a lack of proper fuel pressure.
Weather Conditions
The weather can also play a role in affecting your gas grill temps. Cold weather can cause the pressure in your propane tank to drop, making it harder to ignite the grill.
Even if your grill is igniting, cold and windy conditions can redirect the flame and heat when your grill lid is open, dampening the power of your gas grill.
Ways You Can Fix the Most Common Problems With Grill Heating
If your BBQ isn’t getting as hot as it should be or it’s heating unevenly, the first step should always be to turn off the tank valve and disconnect the propane tank from the grill. Make sure the grill has completely cooled and the gas has dissipated before you start troubleshooting.
Then, it’s time to get to work. While there are plenty of reasons why your gas grill is having heating problems, the good news is that most of these issues can be resolved in a few simple steps.
Here are some ways to fix the most common problems with grill heating.
1. Reset the Gas Regulator and Equalize the Pressure
Opening the valve on your LP tank too quickly can cause your to not pressurize correctly and the propane tank safety valve will shut down, let a very small amount of gas through and therefore your grill will not get enough gas through the burner ports. If you notice a super small flame, this is most likely the issue. One of your first troubleshooting steps should be to reset the gas line.
Make sure you’ve turned off the gas at the propane tank and disconnected the regulator. Then, open the grill lid and turn all the control knobs up to high — including your side burner, if you have one.
Wait for one to two minutes, and then turn all the control knobs off. Reconnect the regulator to the propane tank (be sure there is plenty of gas) and open the gas valve, as slowly as you can so you can repressurize the line. Then test the grill to see if it lights up and heats properly.
If this does not work - it could be the take itself. We often see this when BBQ tanks are exchanged, the regulator is not capable of handling the grill's total BTU’s or the hose and regulator kit needs replacing. When replacing a gas regulator, be sure to select a regulator with a BTU capacity higher than the total BTU’s of the grill.
2. Check and Fix Gas Leaks
A gas leak doesn’t just limit the performance of your grill it can be outright dangerous if not immediately tended to. If it goes unfixed, propane leaks can lead to a buildup of gas in and around your grill, which could lead to fires when ignited.
That’s why it’s critical to check for a gas leak. Make sure your gas supply is turned off and all control knobs are off. Then, inspect the hoses and gas cylinder for any sign of damage or deterioration. Check for loose hose connections or kinks in the gas line.
Even if you don’t notice any visible damage, it’s important to take this extra step to double-check. Mix equal amounts of water and dish soap, pour into a spray bottle, and apply it to the gas hose and connections. Then, open the gas supply — without turning on the control knobs or lighting the grill. If you see bubbles forming anywhere along the gas line or cylinder, this could indicate a leak that needs to be fixed immediately.
3. Clean Burners and Other Grill Parts
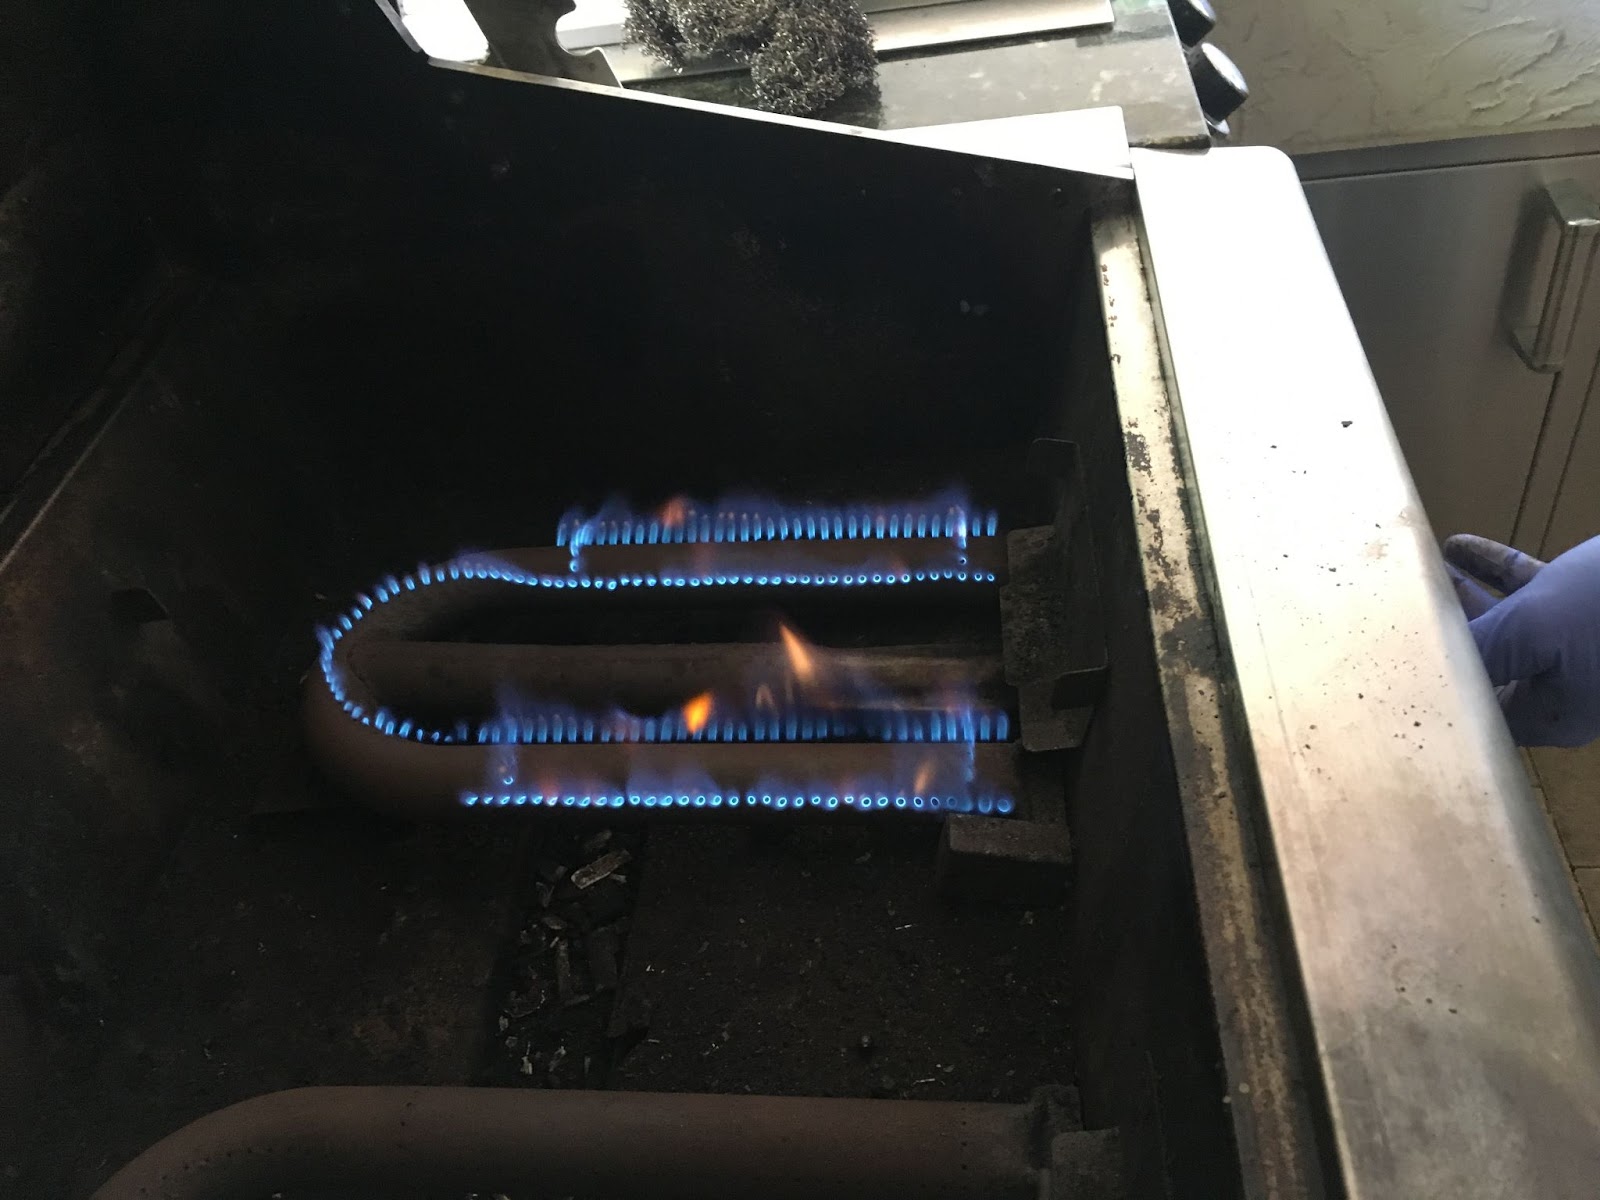
Everything from the burner ports to the grill grates can accumulate grease, food debris, and more over the years of
use. To clean the burners, use a grill brush on the surface to remove debris and dirt. You will also want to take a drill bit or a paperclip to be sure there is nothing clogging any of the port holes. You will want to shake out any debris in the burner. We also suggest using a pipe cleaner in the burner tube to be sure there are no spider webs. Believe it or not, spider webs can cause the gas to shut down and not burn properly.
While you are cleaning your burners, don’t forget to brush other parts of your grill, like your heat plates, to lower the risk of heat obstruction as well as any flare-ups or grease fires. This is where most food drippings and grease will collect over time, creating a crust that can affect your grill’s performance.
Another forgotten part to clear is the orifice hole. This hole can get clogged over time. We suggest taking a small drill bit to clear the hole. You can remove it and blow it out but when reinstalling it be sure to use yellow (not white) teflon tape on the valve so that it securely seals. It is also a good idea to spray soapy water to be sure there is no leaking.
4. Windy Conditions
Since we cannot control Mother Nature, when there may be windy conditions, if your grill is on a cart you can easily move it to avoid wind gusts. If your grill is built-in, you may want to see if the manufacturer sells a wind guard that helps in these circumstances.
You can help alleviate this by preheating the grill for about 10-15 min with the grill hood closed. If your grill has ceramic briquettes (which we love), preheating allows these to heat up and radiate the heat across the cooking surface.
Another grill feature that comes in handy when it's windy is an infrared, or Sear, Burner. This burner is impervious to wind conditions as it uses a ceramic plate to radiate heat versus open flame.
5. Is your Temperature Gauge Reading Properly
In some cases, the grill may be reaching the correct temperature, but your grill heat gauge gives the wrong reading. Higher Quality Grill Models will often have digital grill temperature sensors or even analog dial lid thermometers, which are more prone to failing over time.
Essentially, if it were up to us, we would not have a traditional analog dial temperature gauge on the hood as that only reads the heated air under the hood. True grill temperature is at the cooking surface. So, if you are getting a false reading and you have an infrared laser thermometer, use that at the surface level to see the true grilling temperature.
After the preheating process is complete, check under the hood to see if the cooking grates are heating properly. If you notice that the temperature gauge is giving a lower reading than it should be, most likely it needs to be replaced.
6. Remember To Preheat Your Grill
Most gas grill models will preheat in 15 minutes or less. Make sure you’re giving the grill enough time to properly preheat. If it still isn’t heating the way it should, then there may be a deeper issue.
Proper preheating doesn’t just ensure that your grill grates get to the right temperature. It also allows warm air to collect under the hood, priming your grill for the best results.
7. Ensure Your Propane Tank Is Full
This might seem like an obvious step, but it’s still easy for grillers to overlook. Check the propane tank to make sure you’re working with a full gas supply. Even if it’s not completely empty, low propane levels could still be interrupting the flow of gas.
8. Check The Burner Flame
If your BBQ burners aren’t working properly, there may be an issue with the air and gas mixture. You want a Blue flame with a yellow tip. With the grill completely cool, remove a burner and adjust the air shutter (if provided). Many times cast iron burners do not use an air shutter. For Propane, start with the air shutter ½ to almost fully open and Natural Gas about ¾ closed.
When reinstalling the burner, be sure the burner tube completely covers the valve orifice.
Find Parts for Most Grill Brands and Models at the BBQ Depot
Following the right troubleshooting steps can help you identify the common issues that could be at play. With this information in mind, you’ll be well on your way to enjoying your grill’s usual power, efficiency, and performance.
If your grill still isn't firing up like it should, don’t despair. If you’ve tried everything — resetting the regulator, tightening connections, clearing obstructions, and so on — and it still won’t get hot enough, you may need to replace some grill parts.
Find the best-quality parts to repair just about every grill brand and model on the market at the BBQ Depot. If it's time for a total grill replacement or upgrade, you can also explore our selection of industry-leading grills.