Delta Heat Sear Zone Burner Installation
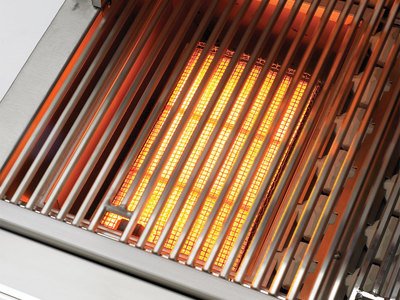
The great feature in the Delta Heat is the ability to change the Left U (open flame) Burner to an Infrared Searing Zone.
You will need to purchase the DHSZ-KIT in order to upgrade your grill.
The Kit includes :
Sear Burner and Screen, Ignition Electrode, Electrode Shield, Screws and Wire Ties
You will need :
7/16 Wrench or Socket, Philips Screw Driver and Needle Nose Pliers

Installation Directions
Step 1 : Turn of gas supply and unhook power before installation
Step 2 : Remove Control Knobs
Step 3 : Remove Briquette Trays, Coking Grates and Warming Rack
Step 4 : Pull Drip (Grease Tray) Half way out
Step 5 : Under the control Panel, Remove the Back Screws on the Left and Right Side
Step 6 : Remove the center screw in the top side of front control panel
Step 7 : Pull out the bottom of the control panel, then pull down to remove. Place rags on drip tray and rest control panel down.
Step 8 : Remove the air baffle located at the front of the firebox (around burner)
Step 9 : Remove the briquette tray tab located above the center fed tube of the U Burner
Step 10 : Remove the screw that hold the U Burner in place (at the back of the firebox)
Step 11 : Remove U Burner
Step 12 : Remove the Left side crossover tube and electrode
Step 13 : Follow the wire and remove from the spark generator
Step 14 : Install Sear Zone Burner. Place screw and tighten (upper left side of burner)
** IMPORTANT ** Be sure that the venturi on the burner is seated over the valve orifice.
Step 15 : Thread sear electrode through the hole, secure electrode by screwing into the front of the firebox and plug into the ignition module
Step 16 : Secure wires with zip ties
Step 17 : Reinstall Control Panel and knobs
Step 18 : Only install Briquette trays over the U Burners (You Do NOT use the briquette tray over the sear burner)
Step 19 : Reinstall cooking grates
Step 20 : Turn on gas and test fire.
Now you can get back to having the Ultimate Grilling Experience! For additional questions on your Delta Heat, let us know.

