DCS Grill Ignition Troubleshooting
How to troubleshoot a DCS Grill Igniter
In this example and video we are using a DCS 27" Grill that had no rotisserie, used a two spark 9 volt ignition. It is a very simple grill to repair as there are not many moving parts. This grills has 2 U shaped burners and 2 ceramic radiant roller trays. The cooking grate used in this grill was a stainless rod grate.
Though, the most popular 9v spark generator that was used in the DCS is the 4 port as it was used on all the other models.
If you have a DCS Grill that uses a 9 volt ignition and it is not lighting we will be going over some troubleshooting tips.
There are several reasons why your grill is may not be lighting. It could be a clogged orifice, clogged burners, burner needs air adjustment, spark generator, electrodes or ignition switch needs to be replacing. We start by gutting the inside of the grill so we can cover all bases.
Press the ignition switch to see if you hear a continuous clicking. If you do not, first try changing the battery. If you still do not hear the clicking, then the spark generator or the ignition switch could be bad.
If you hear the clicking, look in the firebox to see if you have a spark coming from the electrode. If not, you may want to replace the electrode.
Step by Step Instructions
Here instructions for changing the 9v spark generator, ignition switch and electrodes in a DCS grill.
1. Remove the guts of the grill. This includes the cooking grates, radiant trays and the burners.
2. Remove the control knobs
3. Remove the control panel by unscrewing the top and bottom screws on the left and right side.
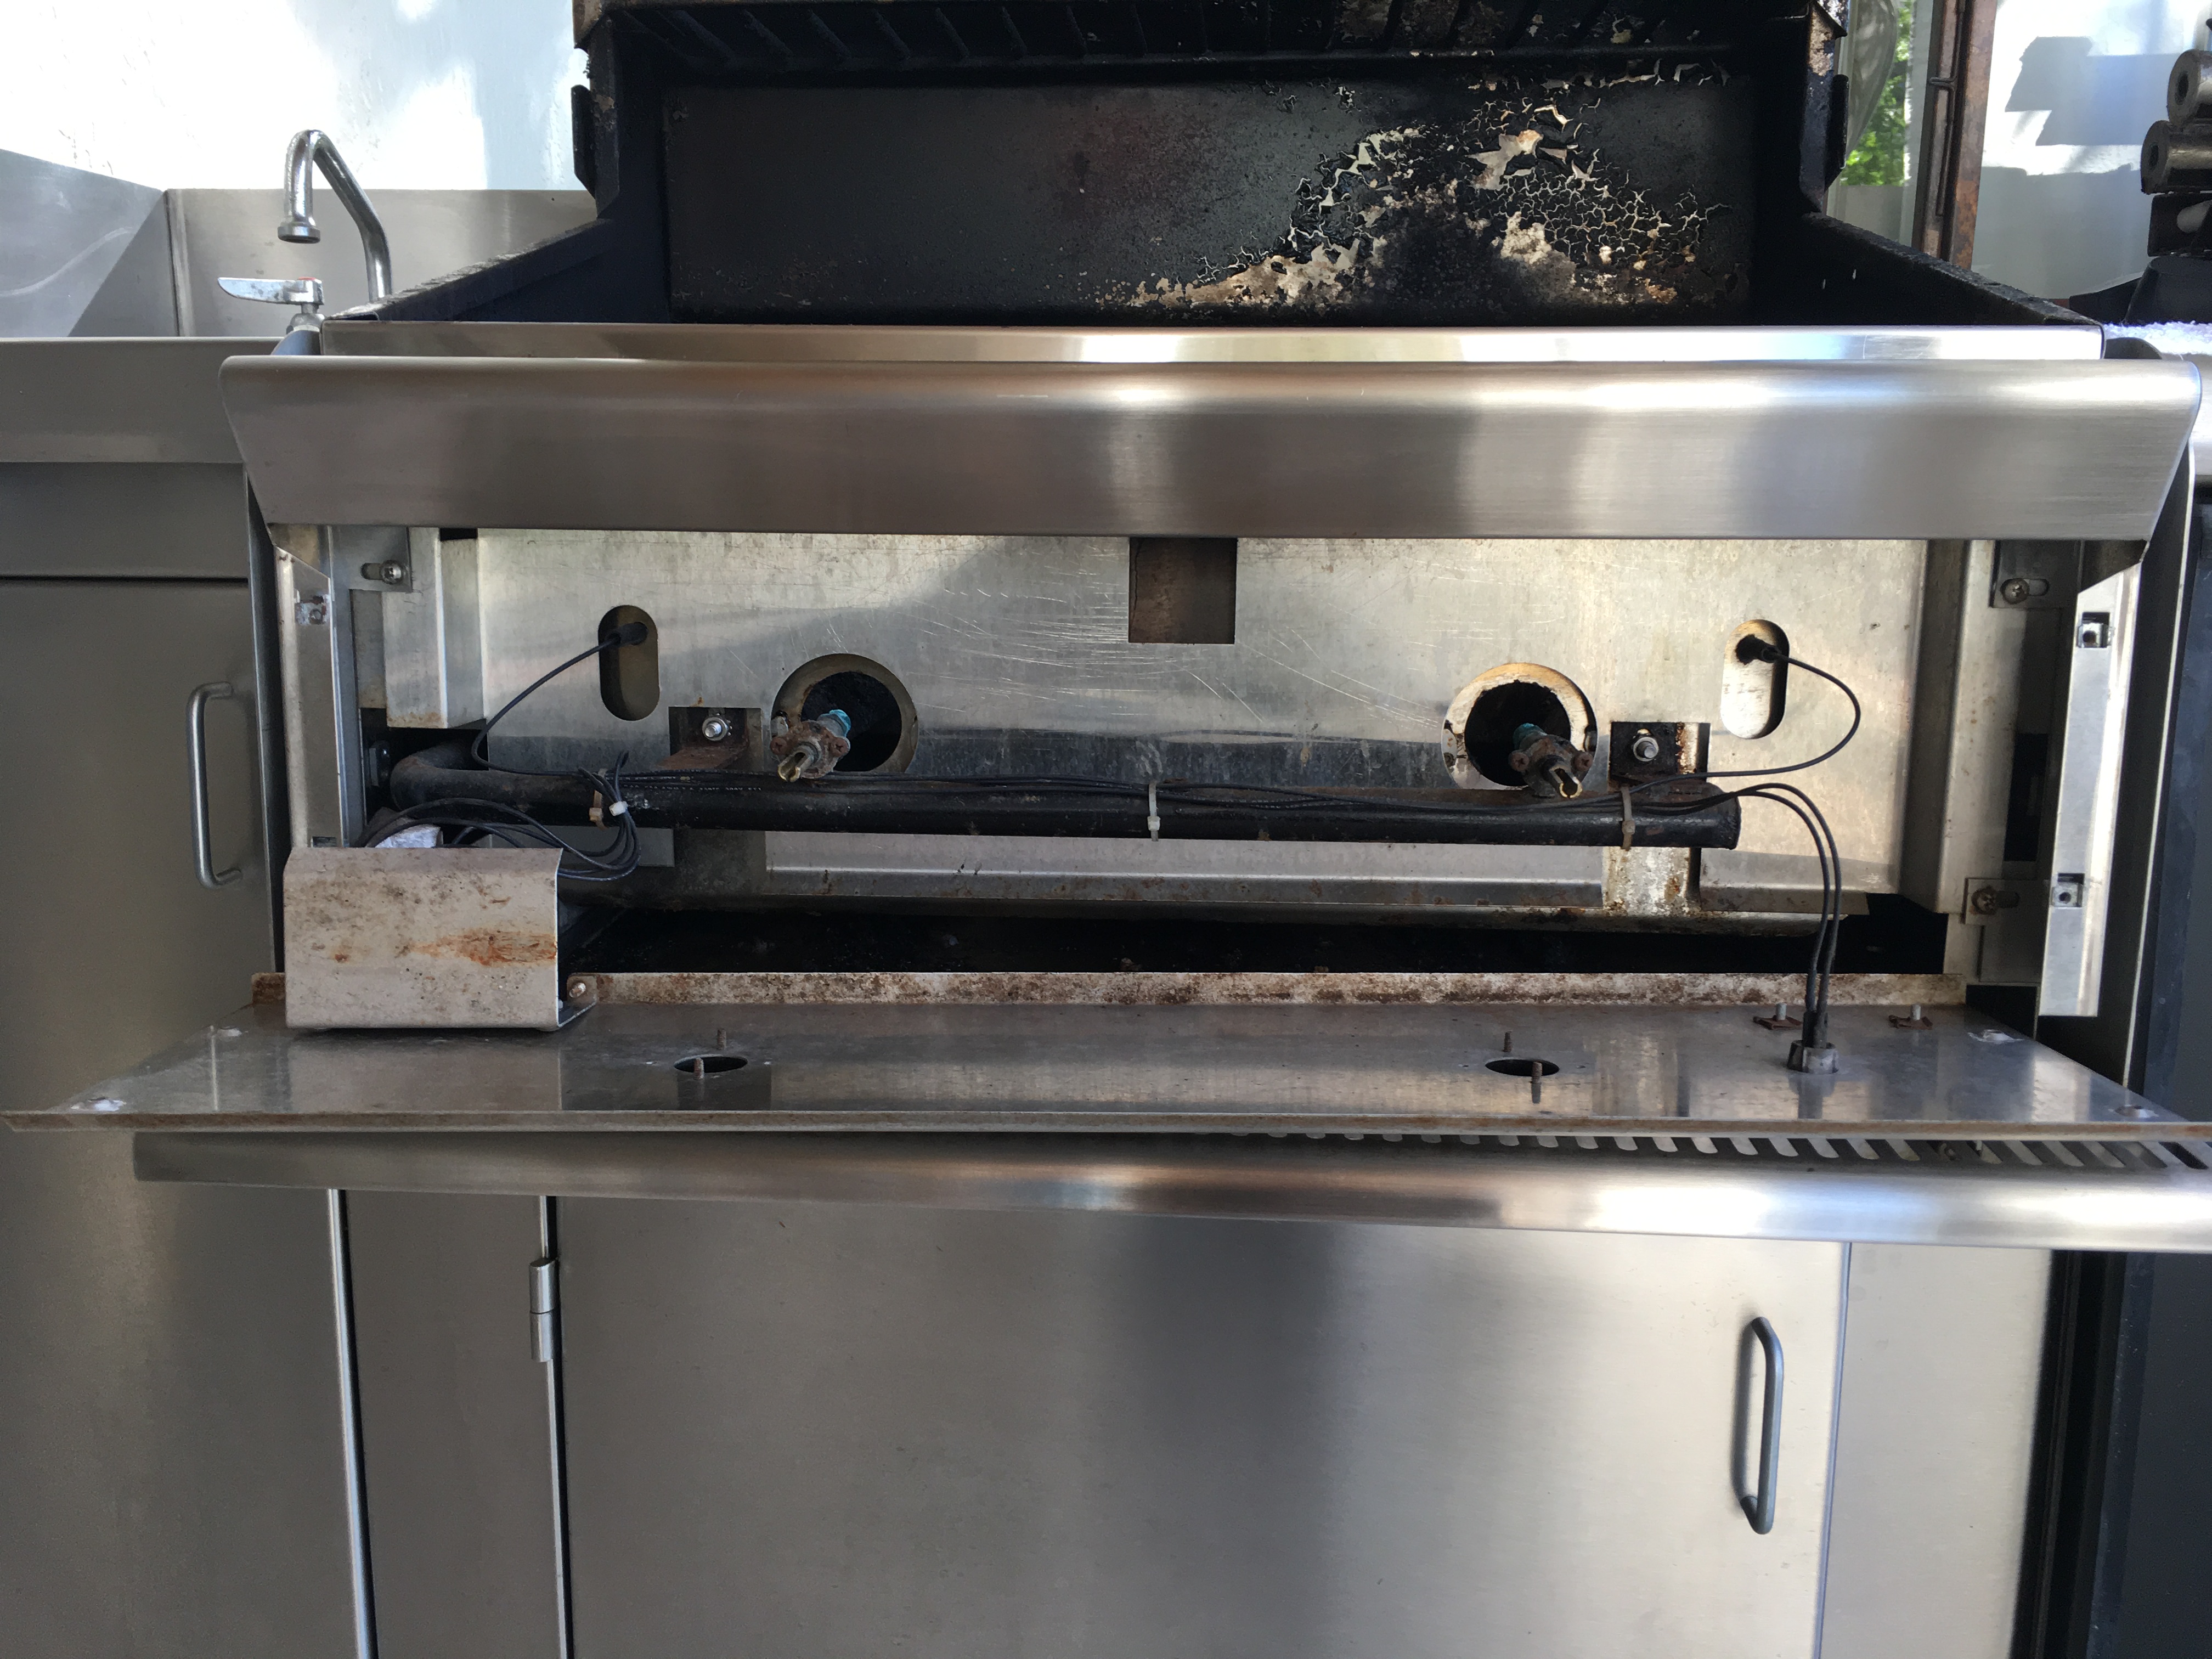
Tip : Pull out the drip tray and rest the control panel on it as there are ignition wires connected to the spark generator. See below image

4. Unbolt the electrode and at the front of the control panel be sure that the wire is free to be pulled from the collector box. If not, you can always clip the wires.
5. Insert the new electrode in the collector box. Feed the wire through the firebox and watch where it feeds from the control panel and pull.
6. Bolt the collector box to the front of the firebox
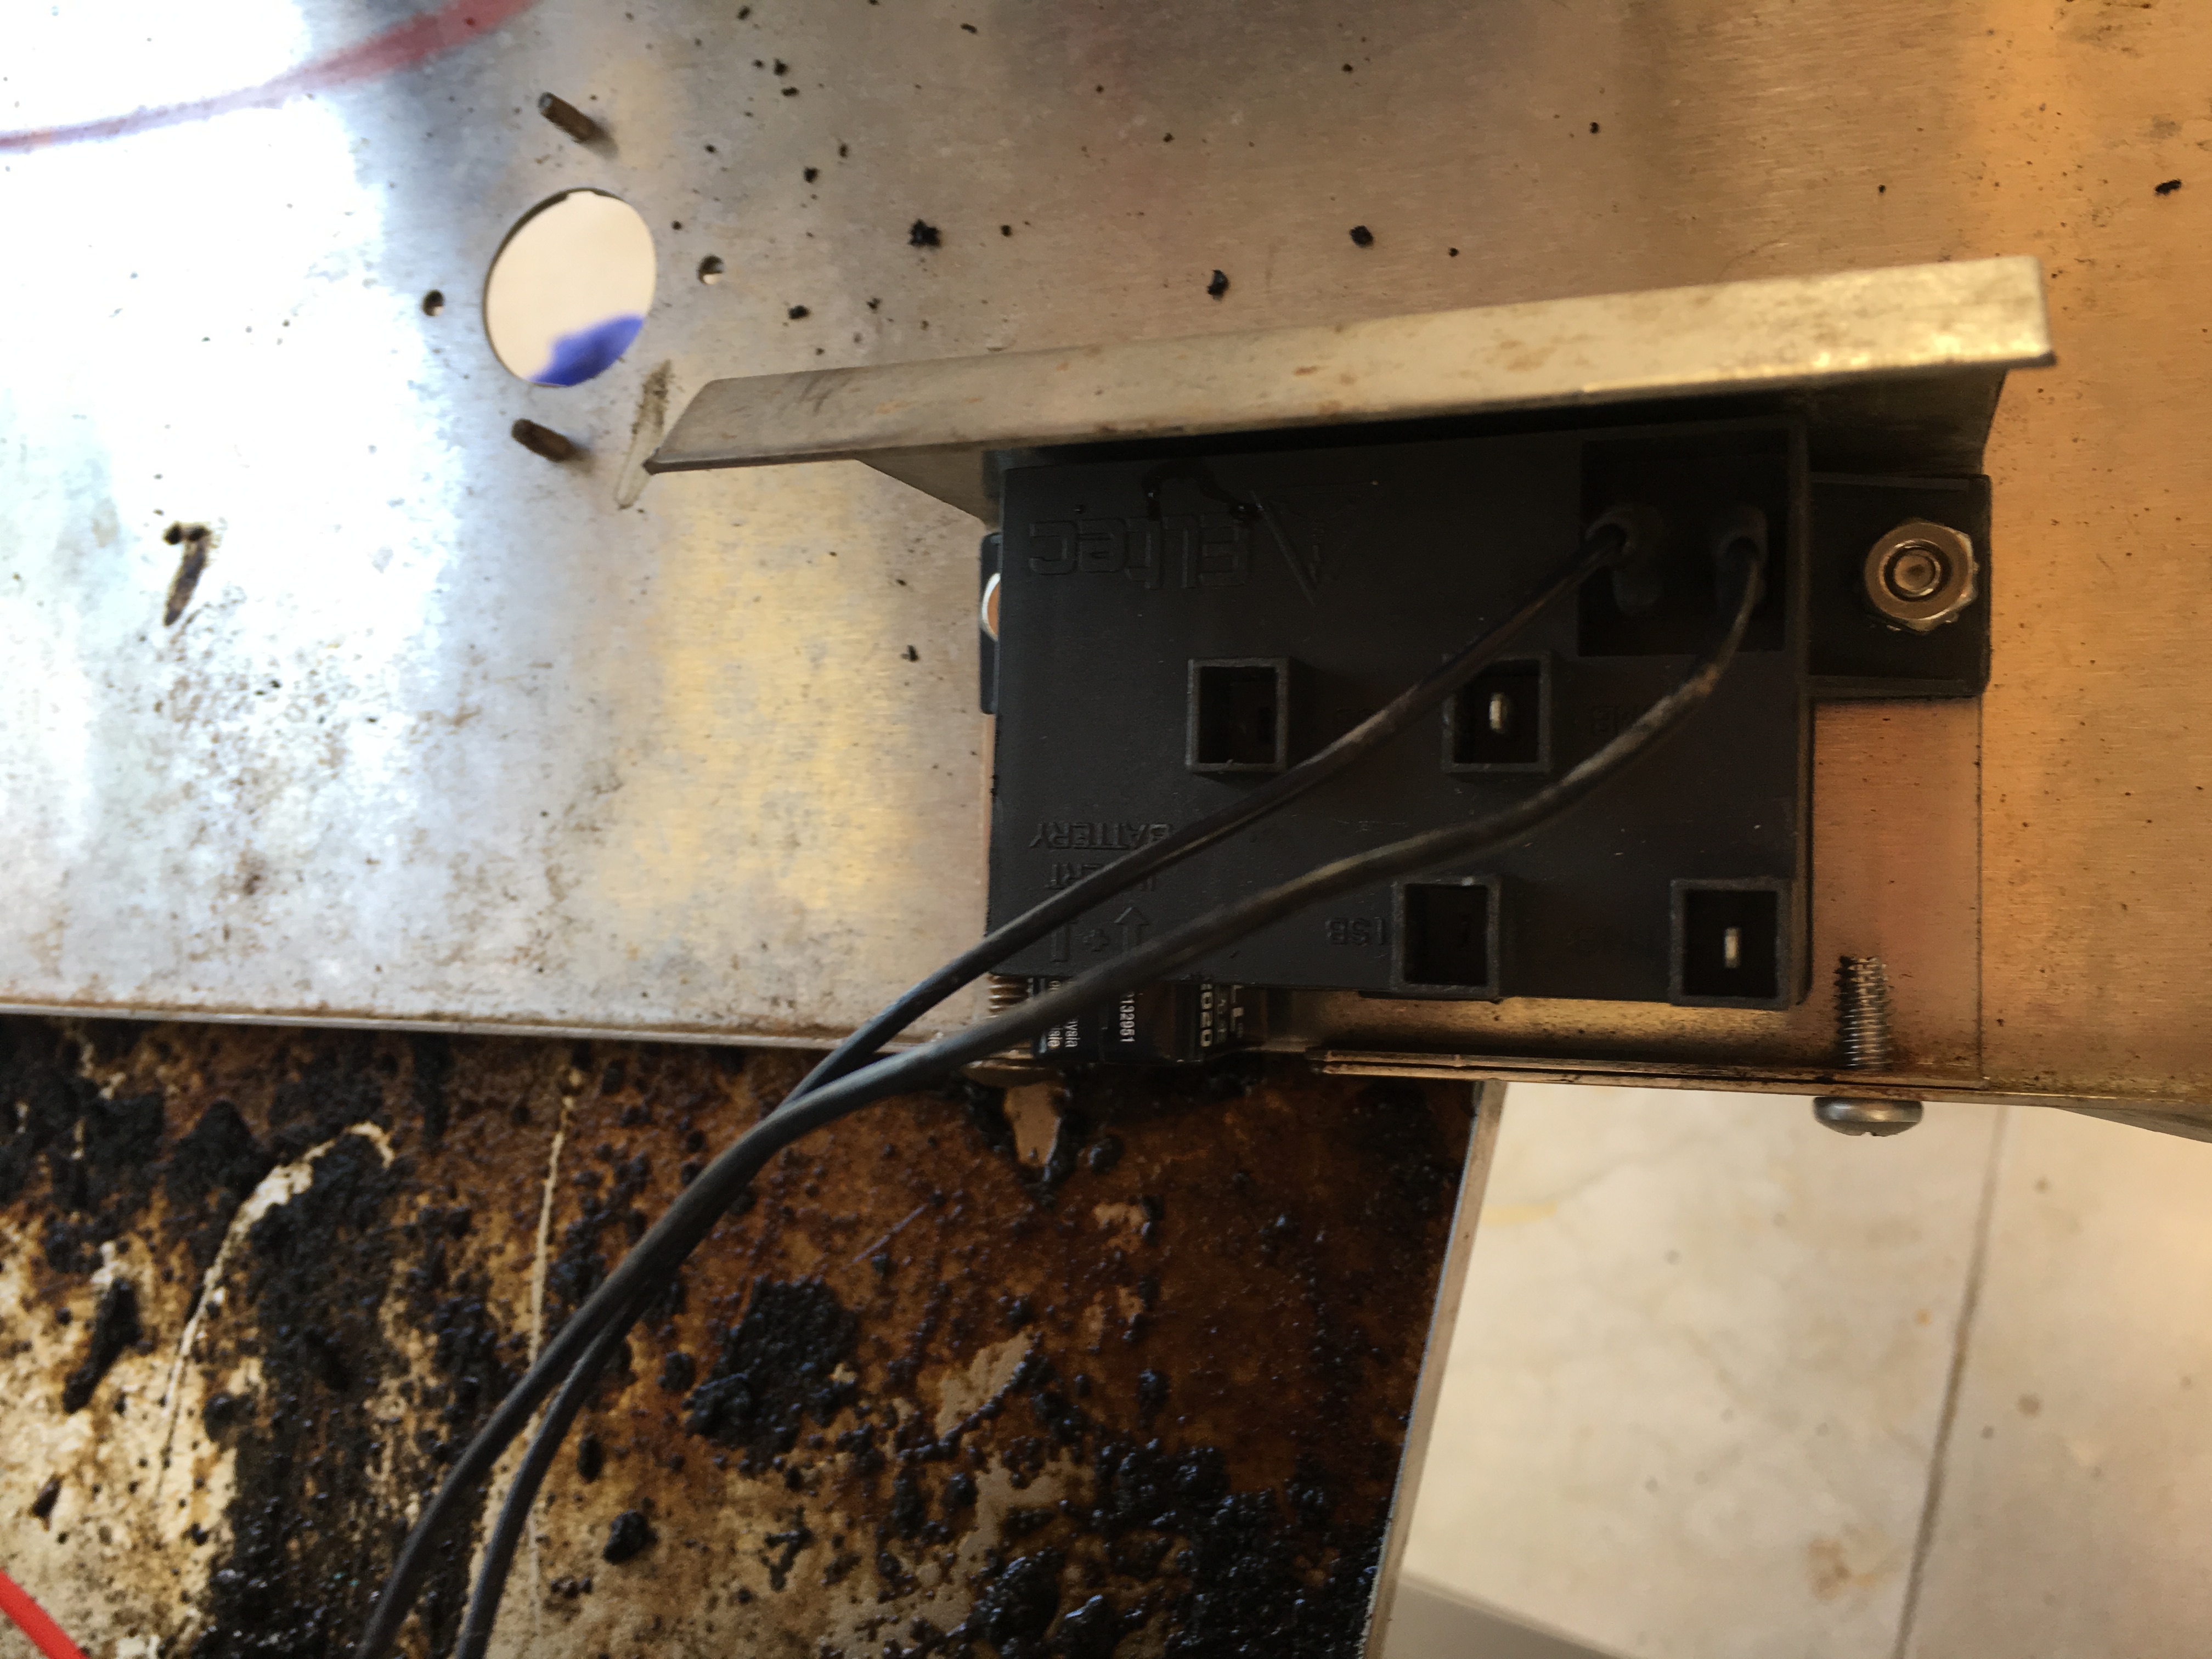
7. Remove the old spark generator from the grill by removing the old ignition wires then, unbolting the igniter bracket from the control panel. Then, unbolt the spark generator from the bracket.
Tip : Place a new battery in the spark generator before reattaching to the bracket as it is easier to install beforehand
8. Bolt the new spark generator to the bracket and bolt the bracket back to the control panel
9. Remove the old ignition switch by removing the wires attached to it then take pliers and squeeze it. With another hand, Grab the button from below the control panel and pull it out
10. Install the new ignition switch (from the front of the control and and push until secure) and reinstall the wires that connect to the switch
11. Test the ignition by securely placing the new ignition electrode wires into the spark generator, press the ignition switch and listen for a fast clicking as well as look into the firebox to see a spark coming from the electrode.
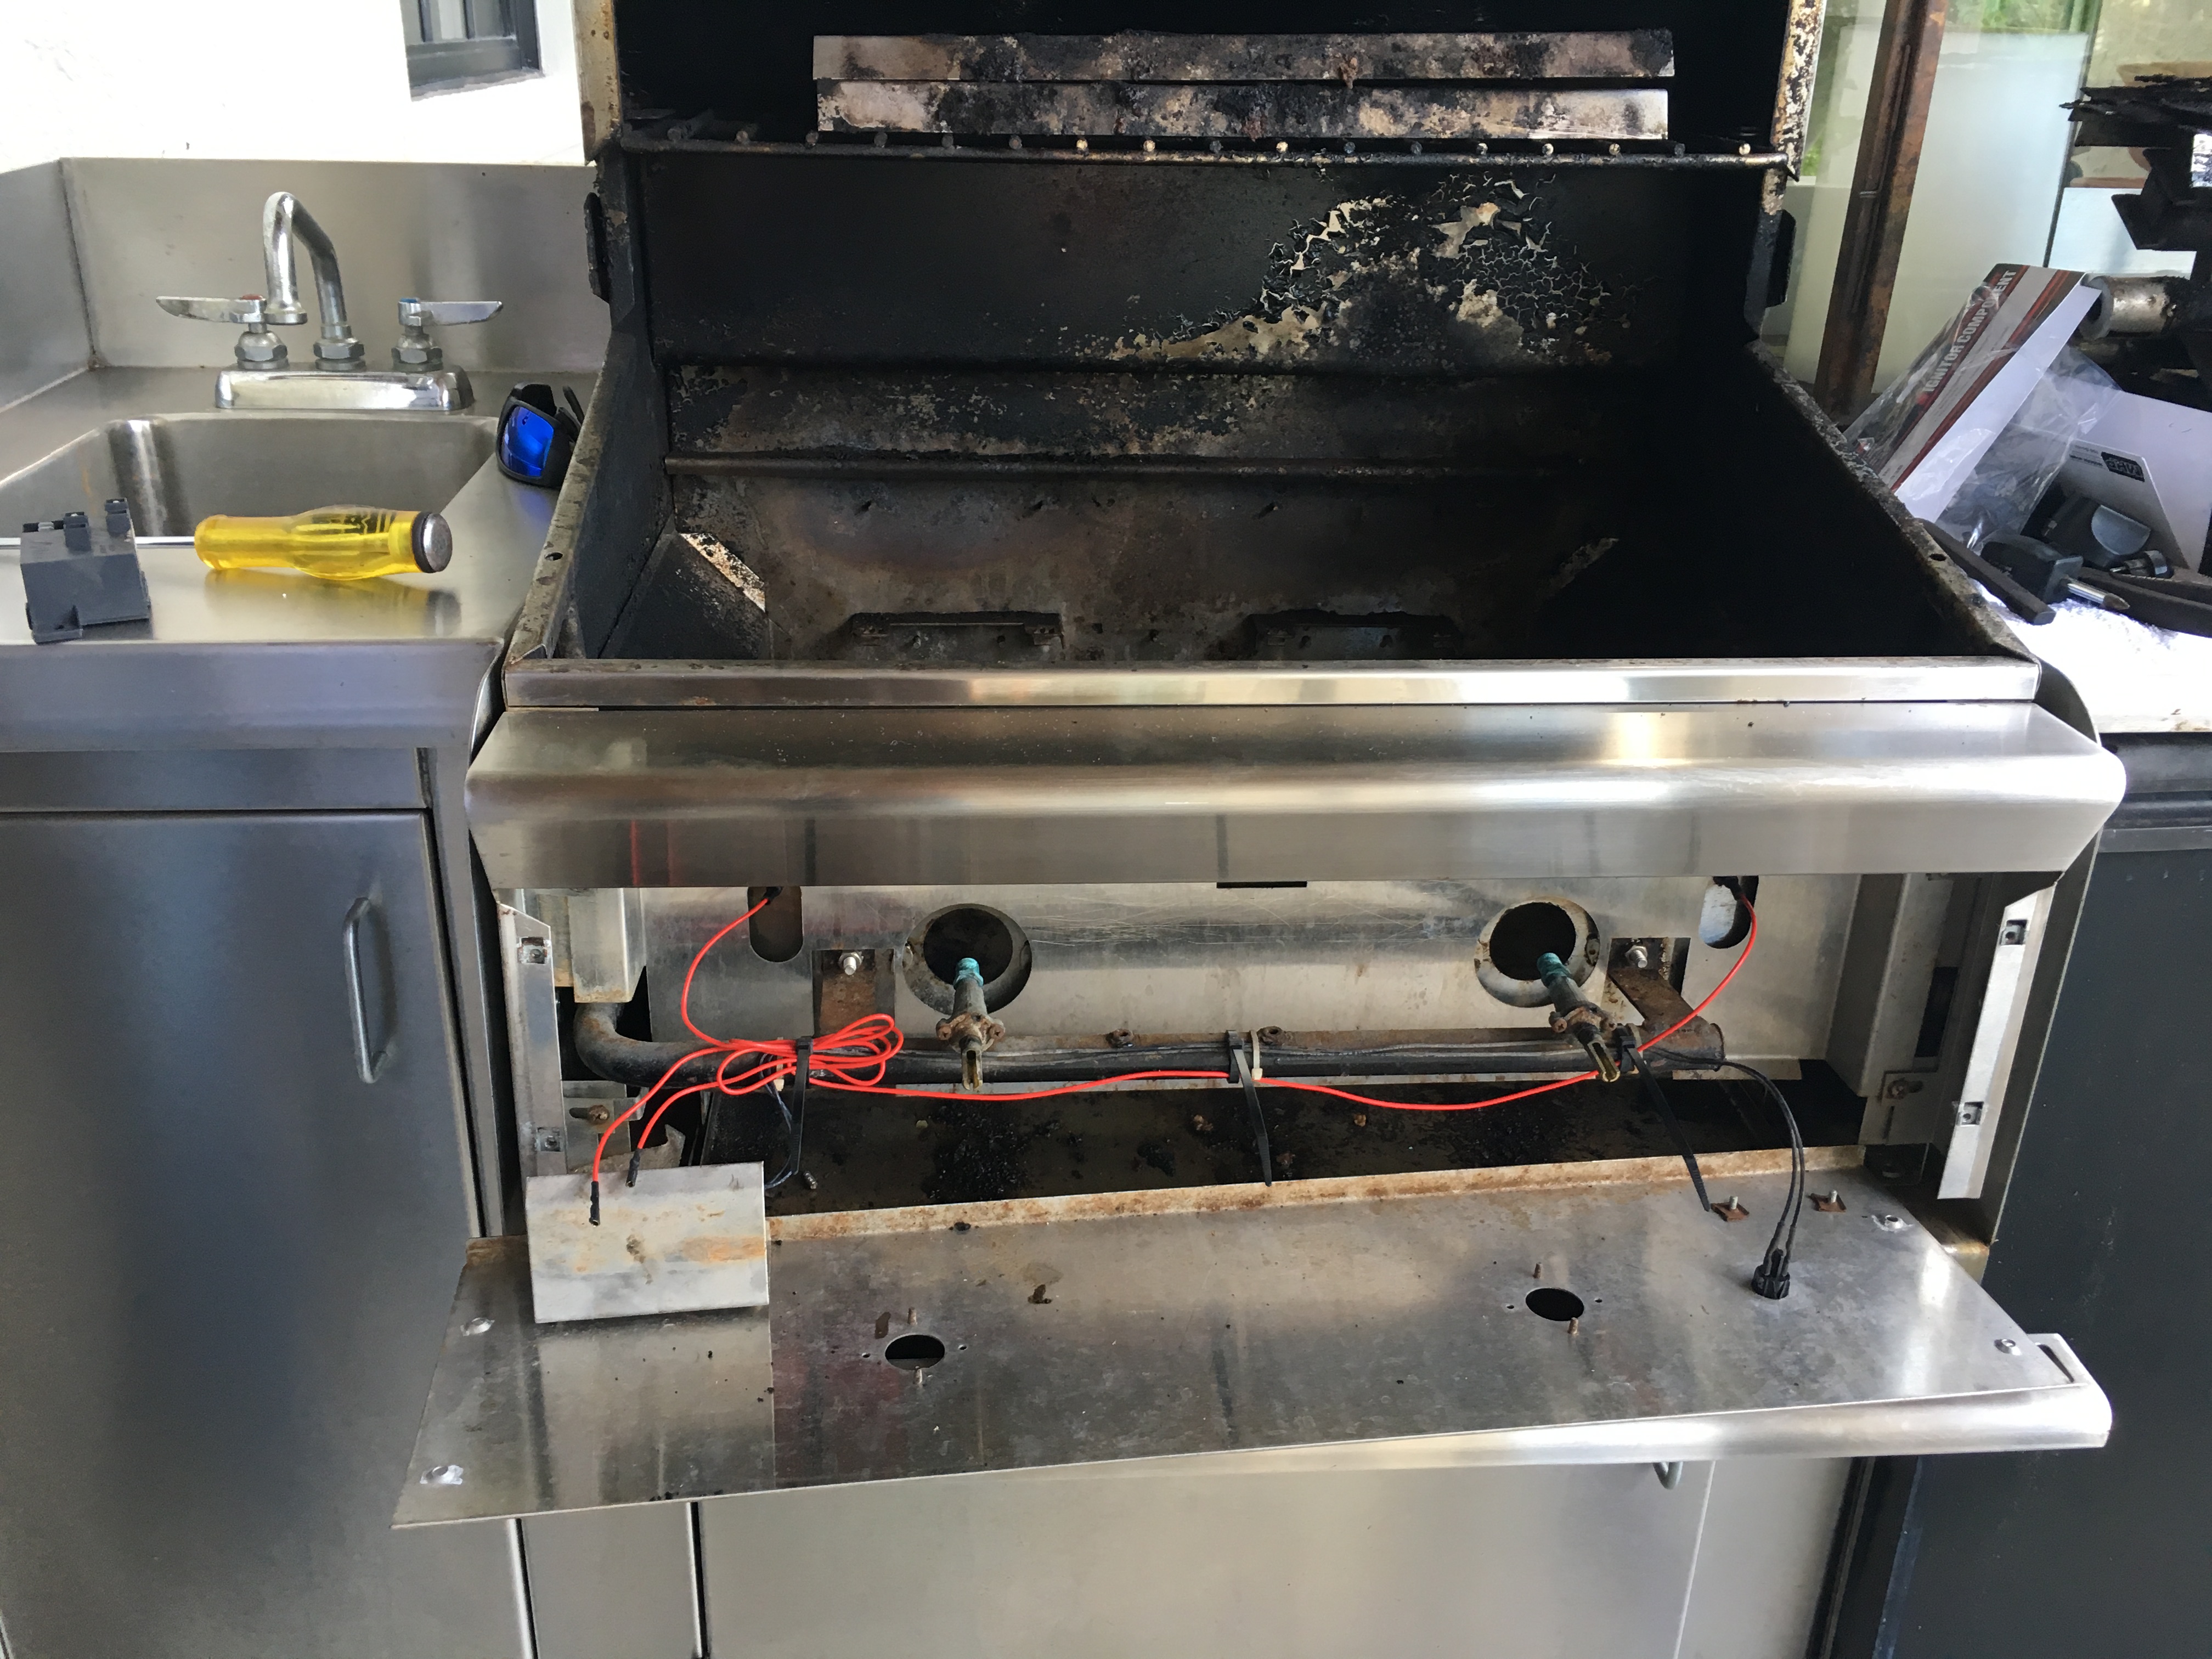
12. If everything is working, we suggest using zip tie to secure the wires from hanging in the grill. See below

13. Before placing the burners in the grill, this would be a good time to brush off the burner and take a small drill bit and clear the holes. Once you have cleared all the ports, flip the burner upside down (with the center pipe facing up) then flip again and shake any debris from the pipe. Keep repeating this until all debris is out of the burner. (If you shook out the debris in the firebox, be sure to vacuum it out.
14. Install burners and secure to the back burner brace.
15. Test fire the grill. If everything lights well, install the radiant trays and cooking grids and get grillin!
Testing Valves
To test the valves to see if there is fluid gas flow :
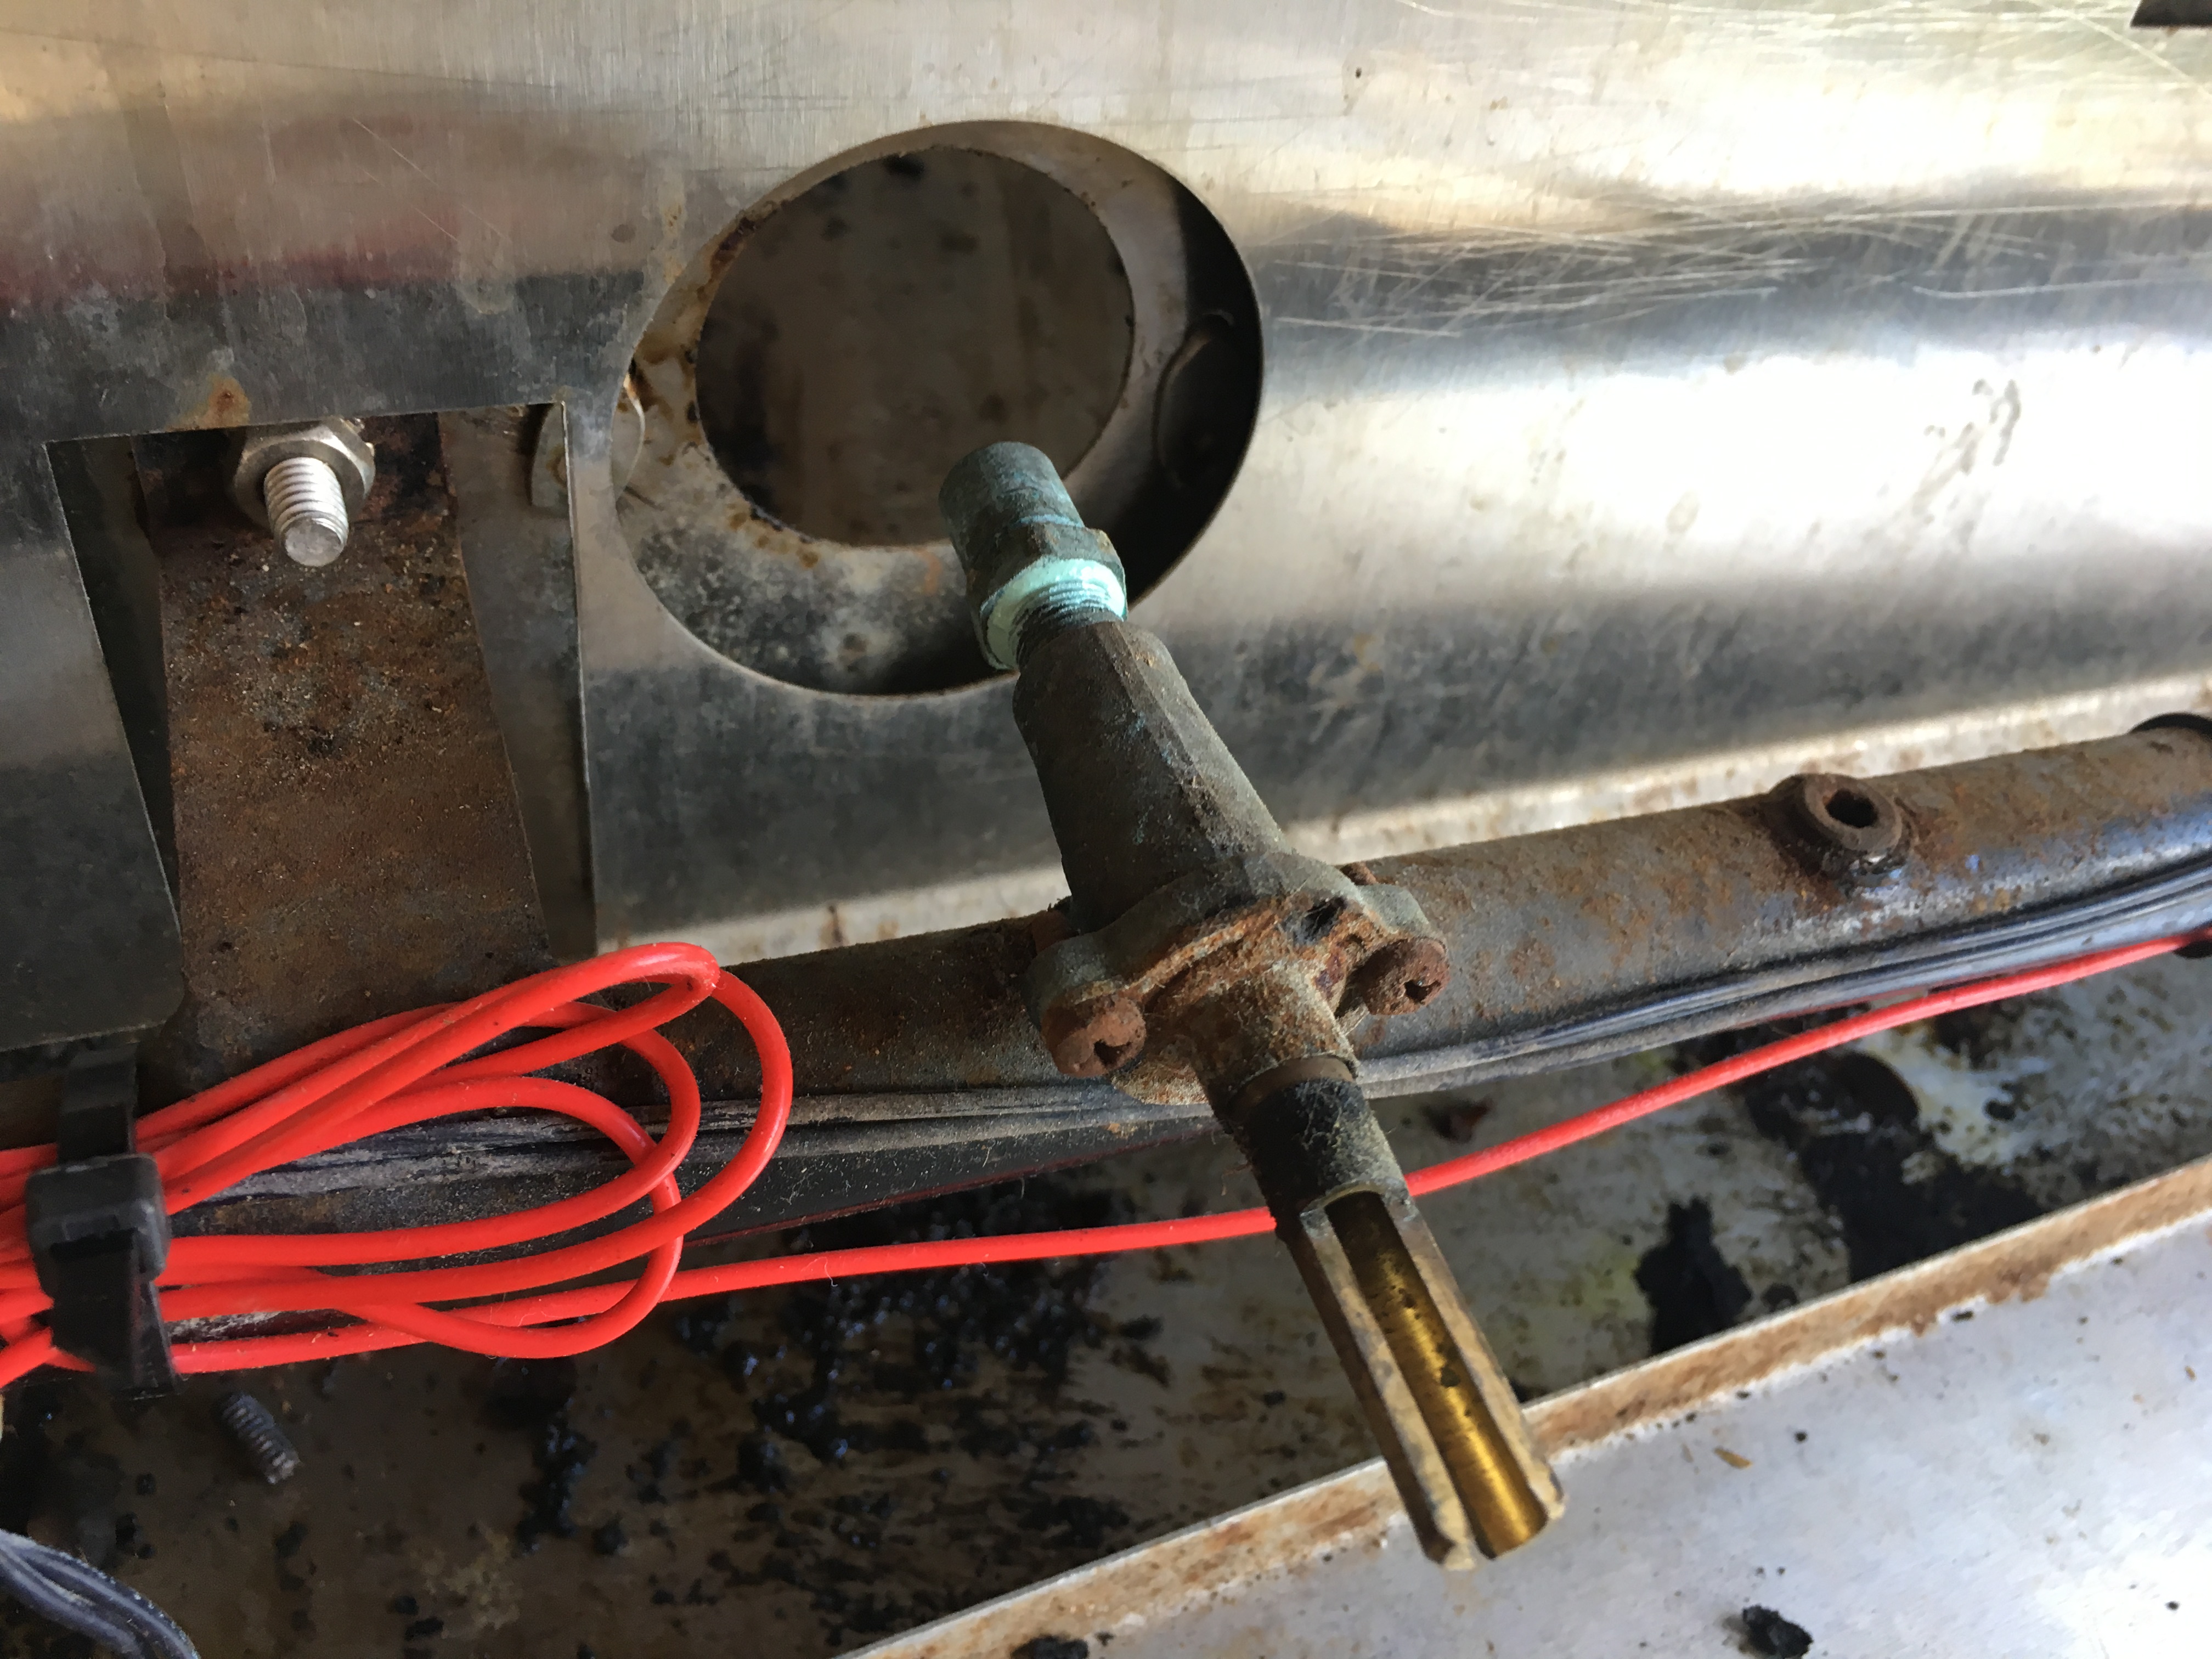
First, take out the cooking grates, radiant trays and burners. Then we turn on the knobs to feel if gas is flowing freely from the orifice. If you feel there may be an obstruction, then remove the orifice and clean them. When reinstalling the orifice on the valve, it is important to use pipe dope or yellow teflon tape (white is for water) before screwing the orifice back on the valve. In the image below, we used pipe dope to seal the orifice back on the valve.


