Grill Repair : Converting an Alfresco LX2-42 from Natural Gas to Propane
How to convert an Alfresco Grill from NG to LP - With Video

In this post we are converting an Alfresco LX2-42 natural gas grill with all blue flame burners to LP Propane
Tools Needed
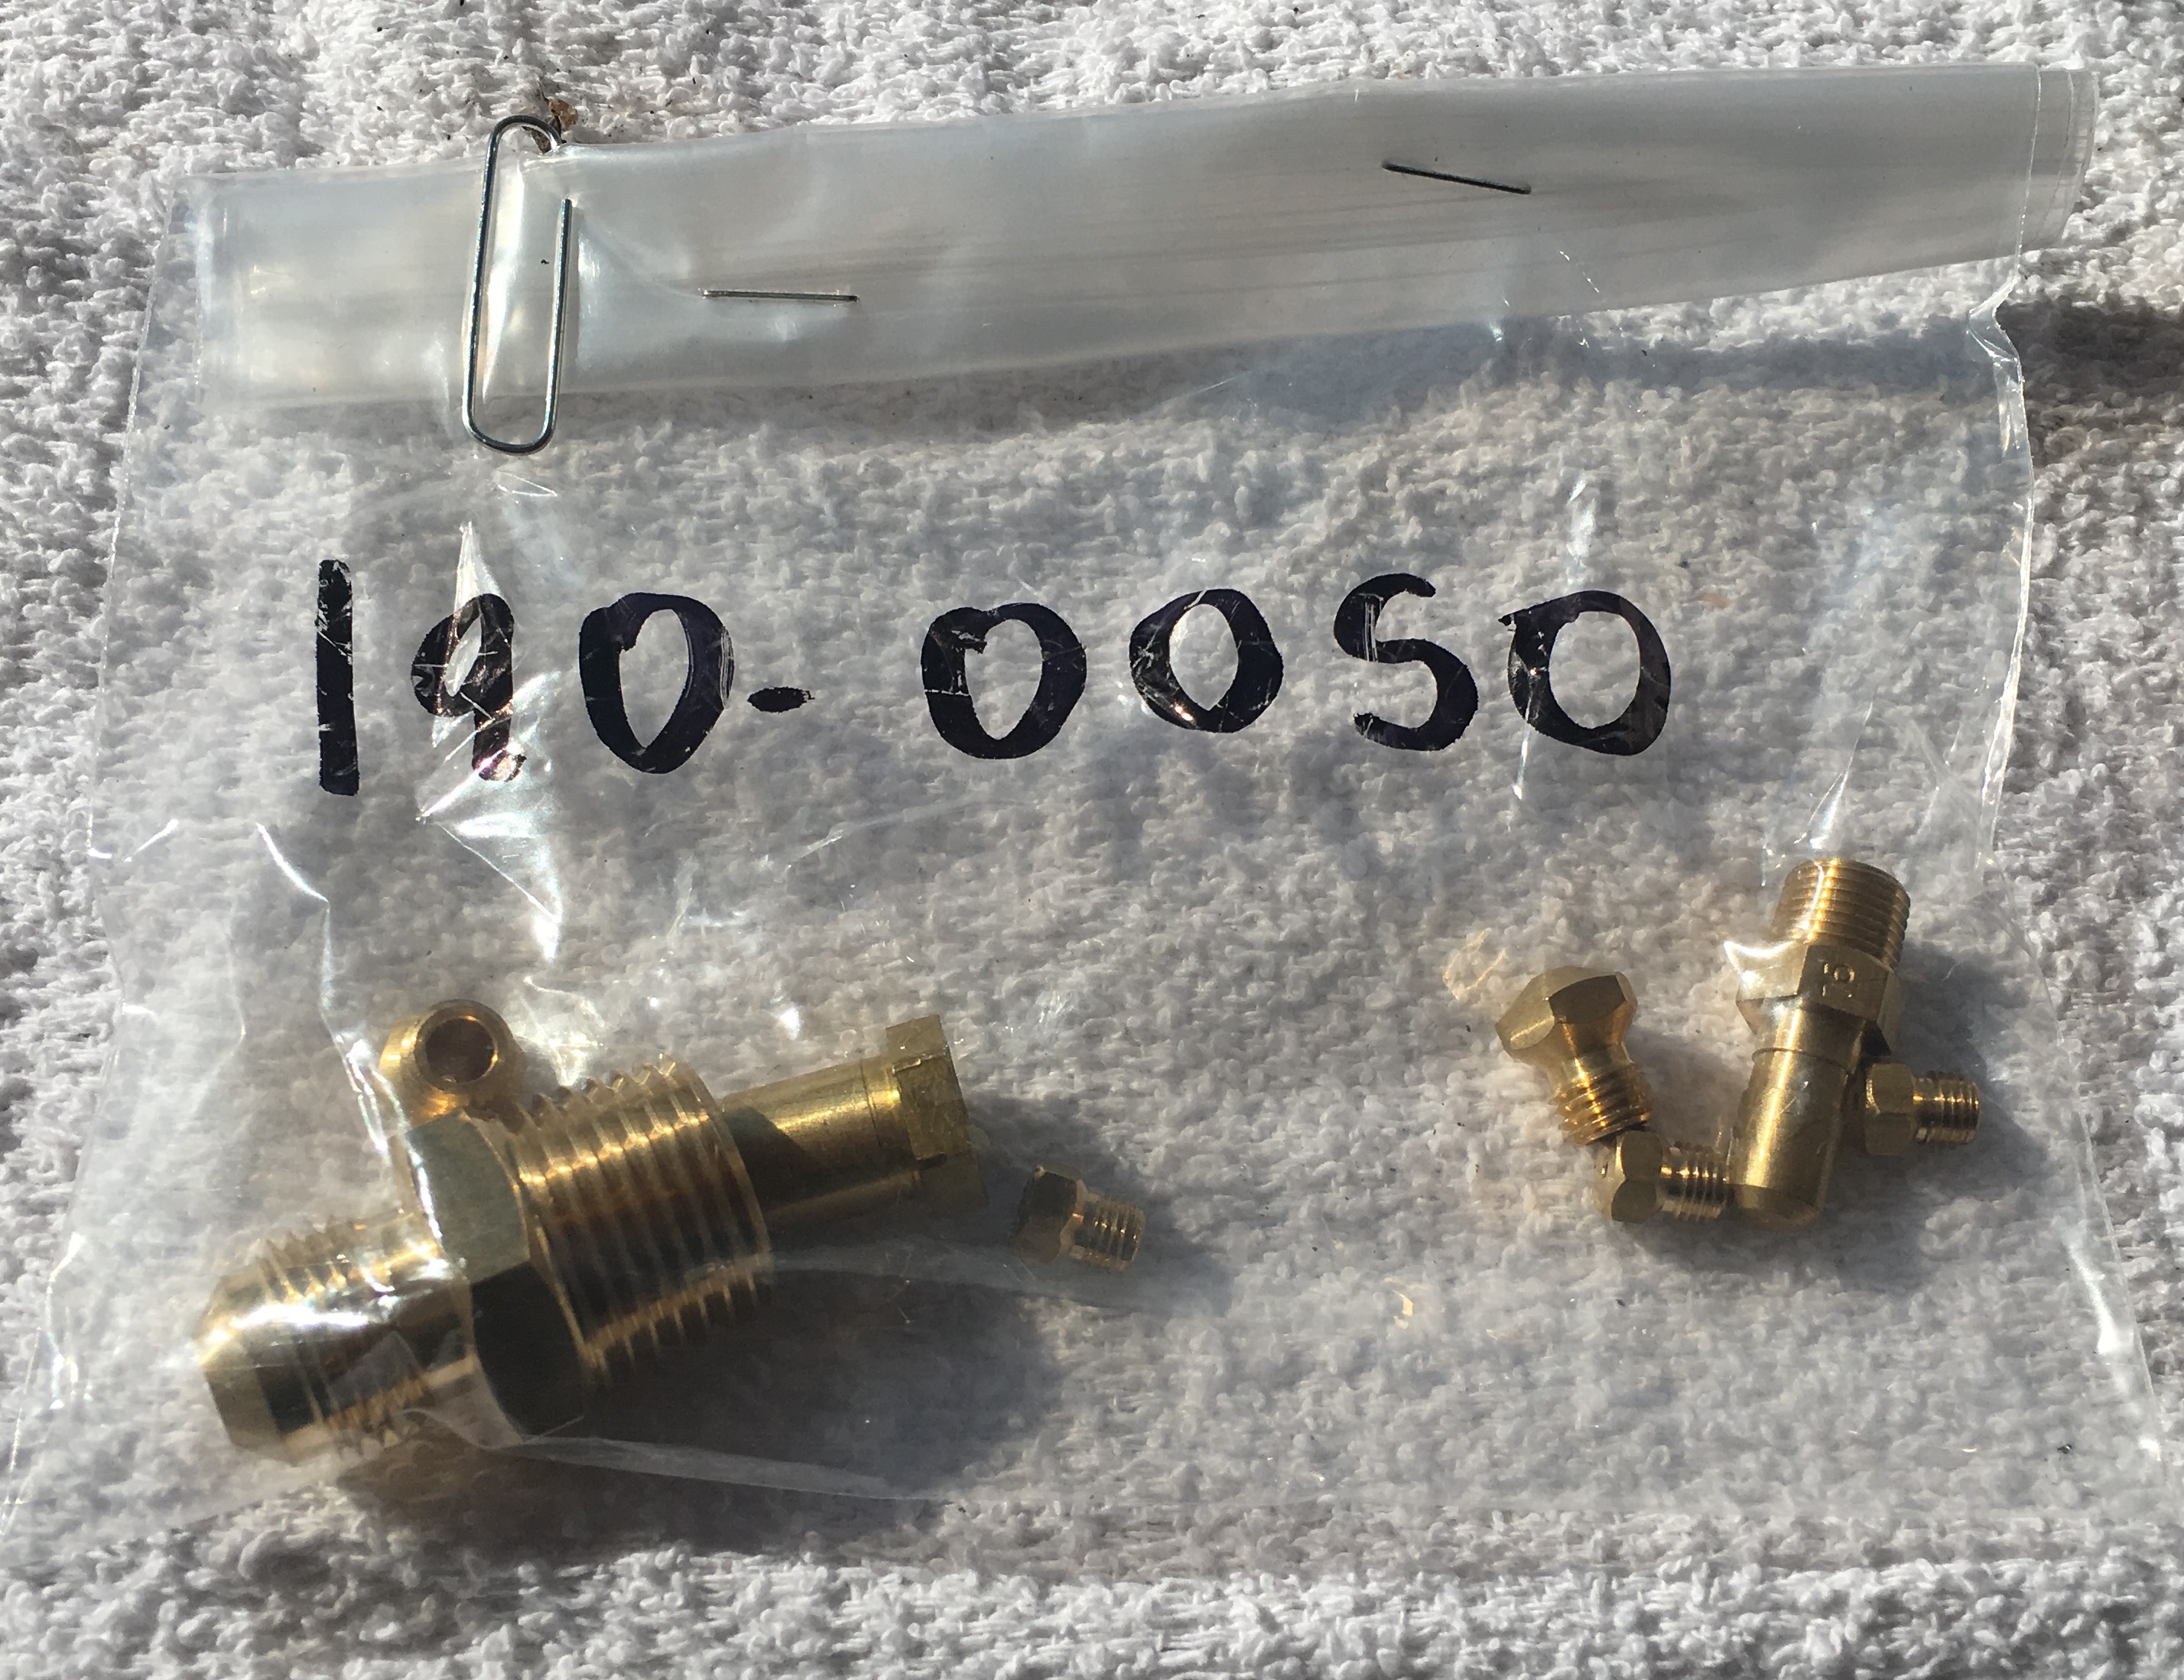
- Conversion Kit 190-0050
- Disposable Gloves
- Phillips Screwdriver
- Flat 1/8" Screwdriver
- 7/16 in Open Wrench
- 1/2 in Open Wrench
- 9/32 Socket Wrench
You will also need an lp hose and regulator with at least 200,000 btus
First, remove cooking grates, briquette trays, smoker box, warming rack and drip tray and set aside
1.Main U Burner Orifice
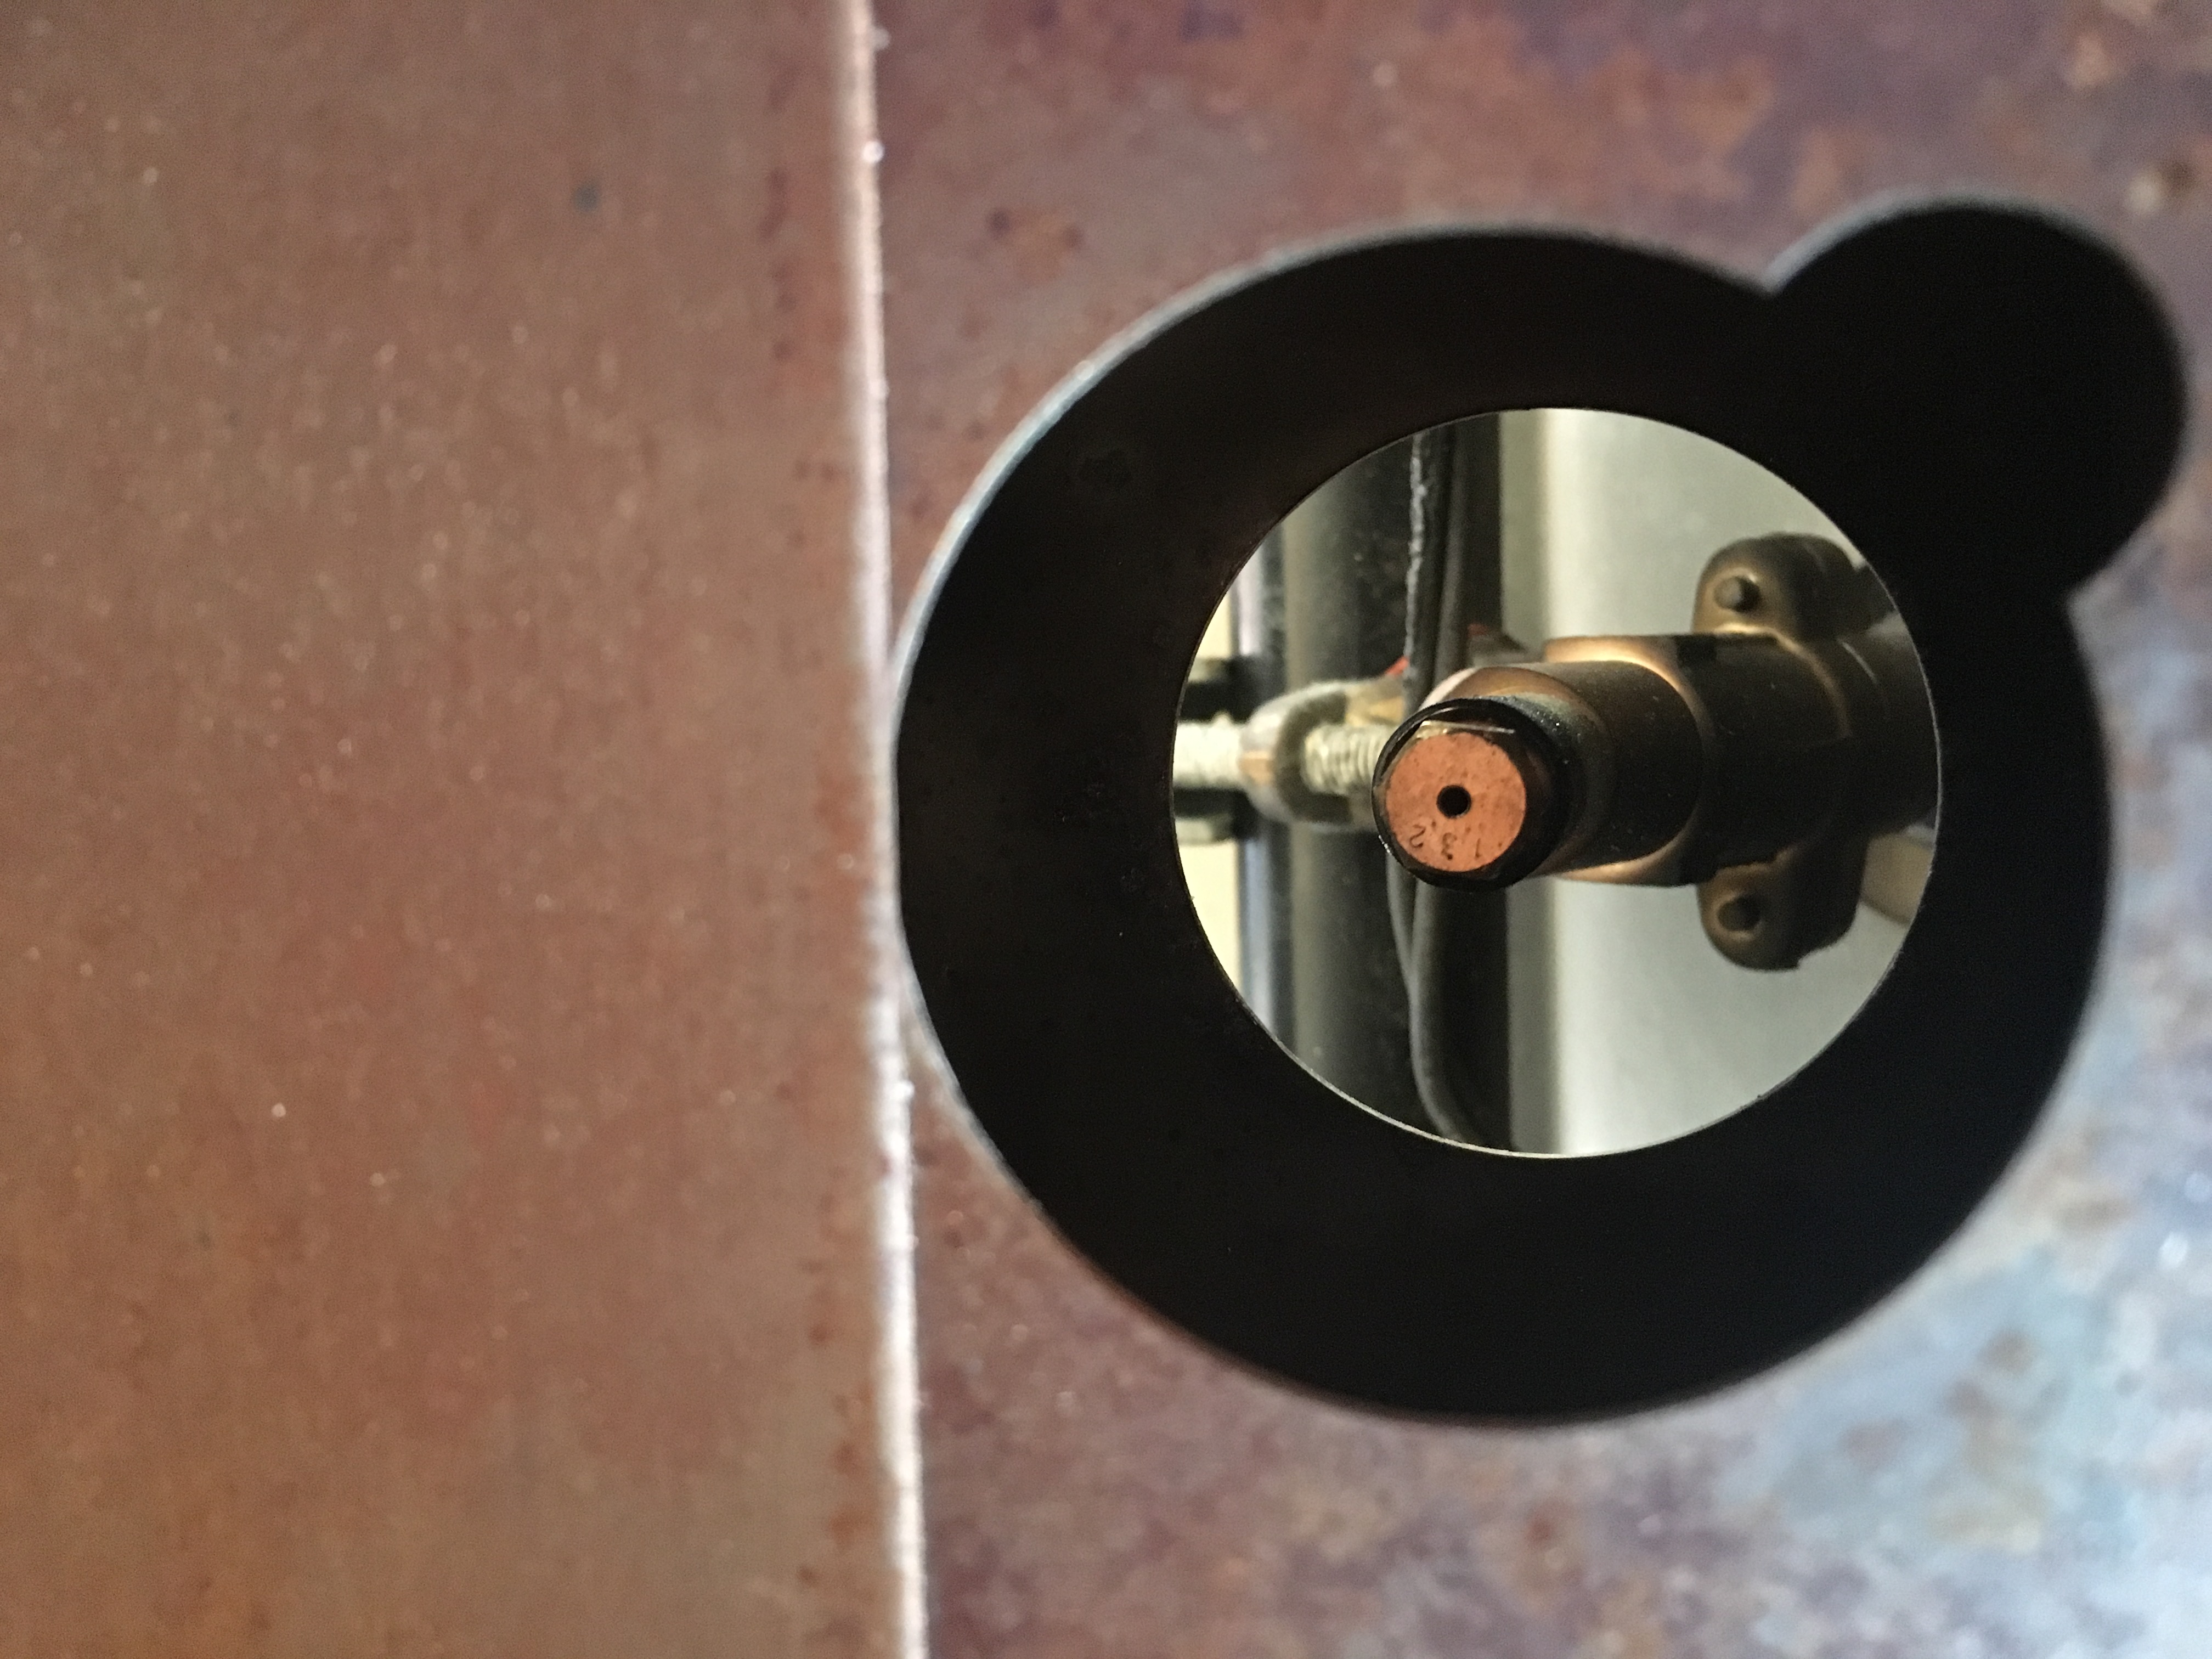
Locate the orifice on the inside of the fire box.

Take a 9/32 socket wrench to remove main Burner natural gas orifices
(We like to put pipe putty on the new orifice threads)
2. Install the new orifices and tighten with the socket wrench
3.Smoker Burner Orifice - Remove the mounting plate using a Phillips screwdriver.
Use a 7/16 wrench to remove the smoker burner natural gas orifice and a 9/16 wrench to hold the block in place
Put pipe dope on the LP smoker orifice and tighten with socket wrench and remount the mounting plate to the grill
Spray soapy water to be sure there are no bubbles
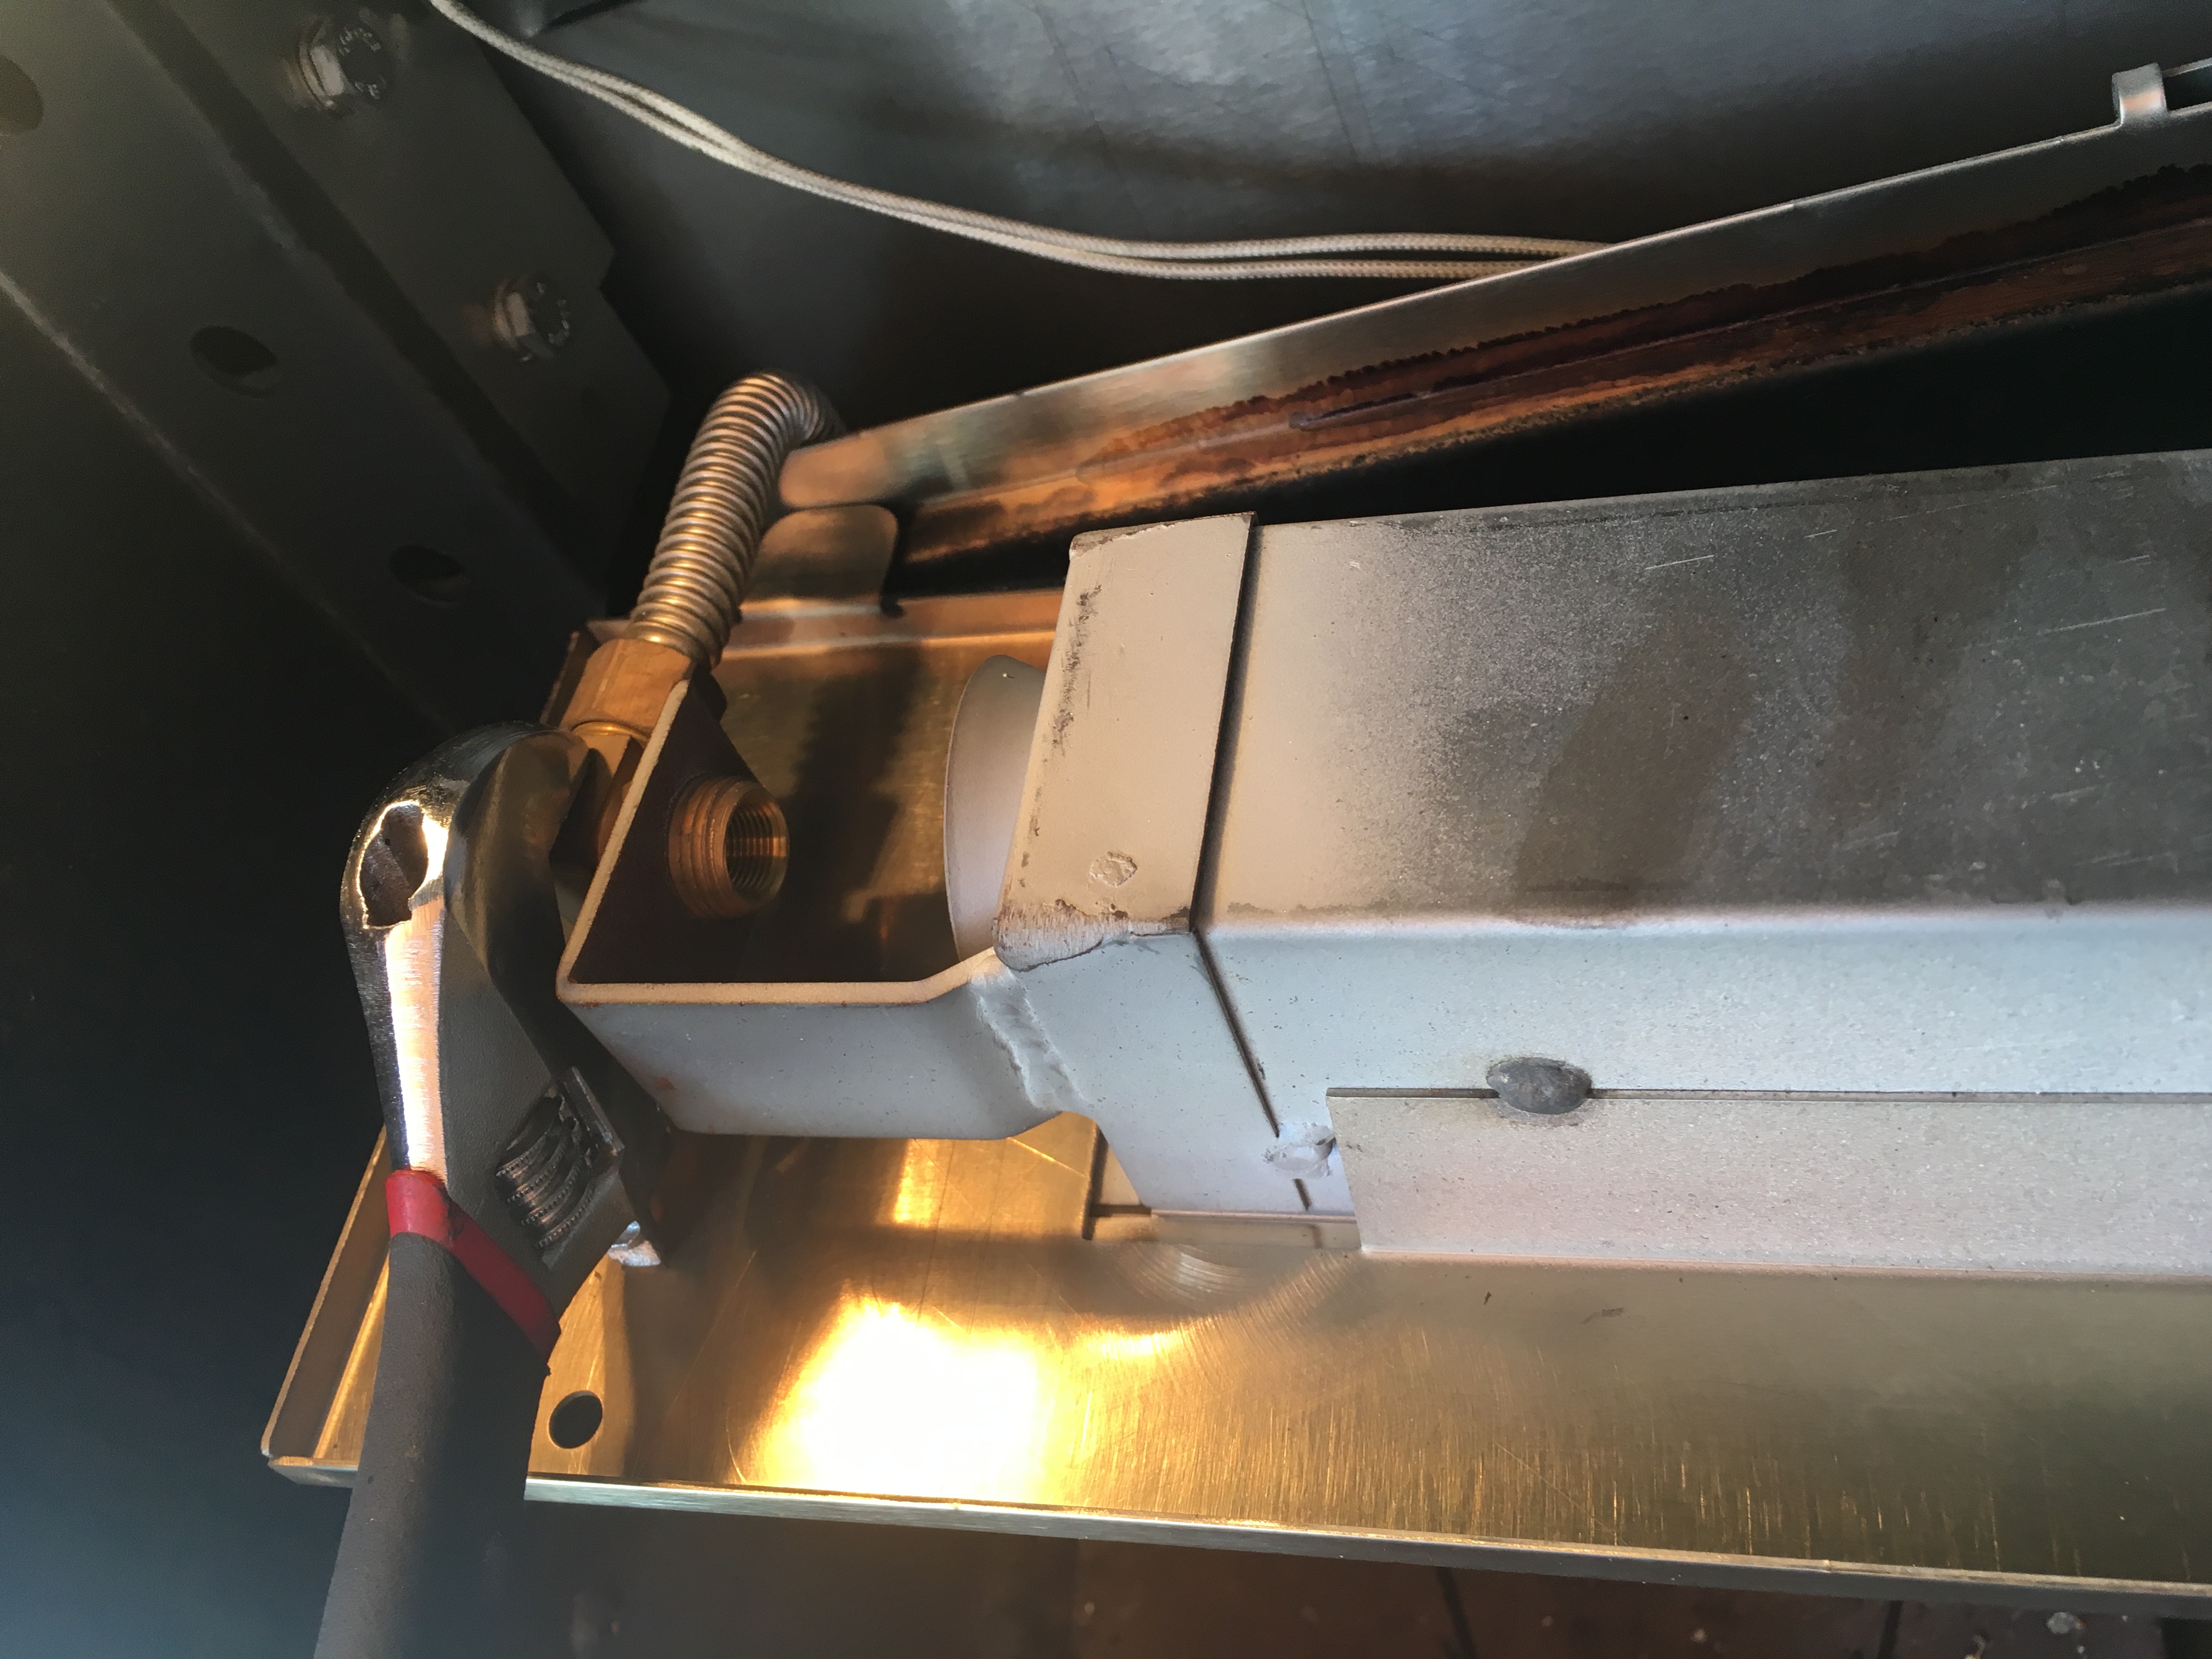
4.Rotisserie Burner Orifice - Remove the rotisserie burner by unscrewing the left and right bolt at the top of the burner. (Note : in the 56" Grill, there are 2 Rotisserie Back Burners and both will need to be removed)
The Rotisserie Burner is supported by the bottom tabs, as you tilt the panel forward.

Use 1/2 wrench to remove the rotis natural gas orifice
Put pipe dope on the LP rotisserie orifice and tighten
Spray soapy water on the orifices to be sure there are no bubbles
Reinstall the rotisserie burner. IMPORTANT: Be sure that the igniter wire, located on the right side of the assembly, is properly secured before reinstalling the panel.
5. Test fire the main burners
Tip :You may need to Close the air adj slightly on the main U burners LOW SETTING
To adjust the low setting flame, set the knob to low, remove control knobs, stick flat head in the valve turn to right to adjust low setting lower and turn left to adjust the low setting flame higher
Use the 1/2 in x 3/8 reducer if needed Connect propane hose and regulator.
6. Switch the appliance regulator located on the back of the grill from natural gas to LP. Unscrew the cap at the center of the regulator and Pull the plunger out of the cap, flip it’s direction and re-insert into the cap with the proper fuel desired pointing TOWARDS the regulator spring and body.
7. Test fire the grill to be sure everything lights properly
8. REINSTALL cooking grates, briquette trays, smoker box and any other parts you have removed
Note : If your grill comes with a Sear Zone, you will need to change that orifice as well by using a socket wrench to remove the orifice from the inside of the grill. The SearZone orifice is NOT attached to the gas valves as with the U Burners rather it is located just below the burner’s igniter electrode. The orifice is attached to a 3/8” elbow fitting between the front panel and the firebox.
**GAS CONVERSIONS SHOULD ALWAYS BE PERFORMED BY A LICENSE TECHNICIAN **
.embed-container { position: relative; padding-bottom: 56.25%; height: 0; overflow: hidden; max-width: 100%; } .embed-container iframe, .embed-container object, .embed-container embed { position: absolute; top: 0; left: 0; width: 100%; height: 100%; }


